Showing posts with label Crafting with family. Show all posts

Friday, August 29, 2014

Chalk dimensional tree tutorial


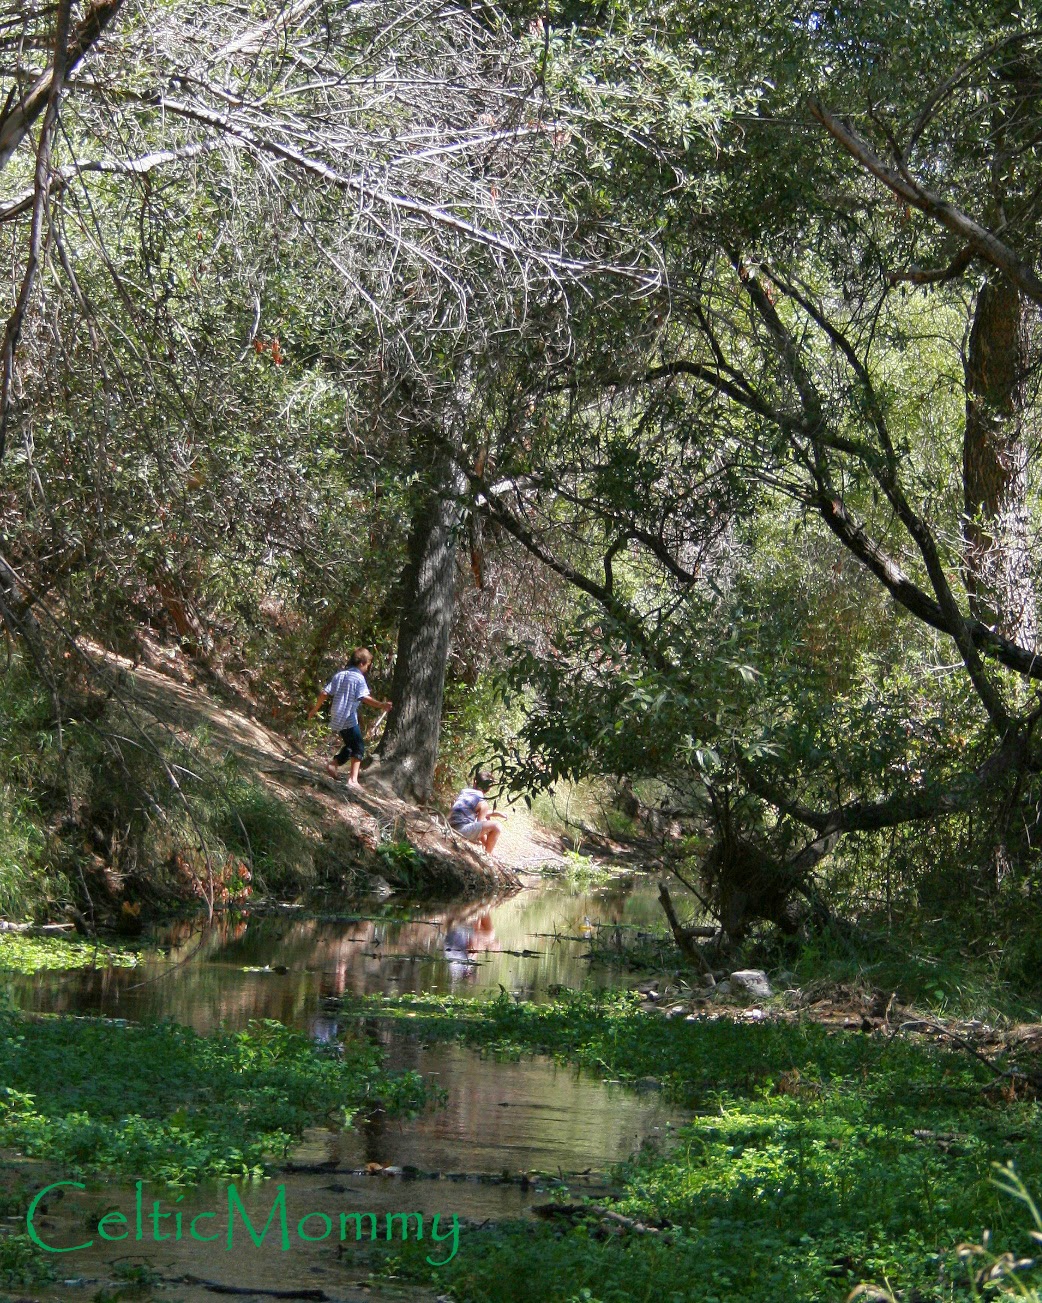
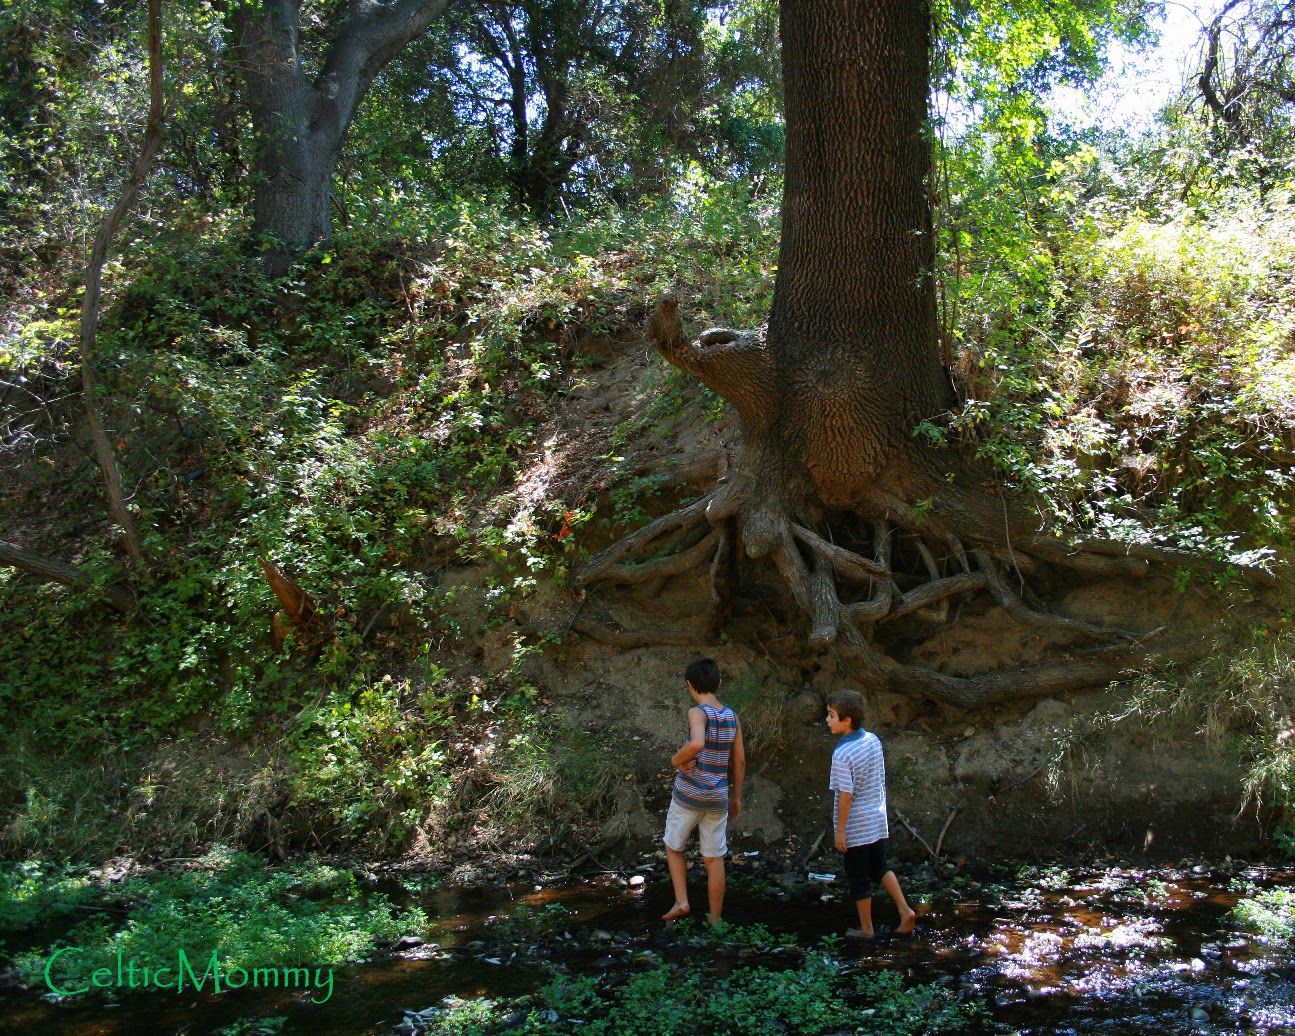
I promised a tutorial on how we took our nature observations from our weeks' field trips to Malibu Creek and turned them into fun, dimensional trees.  While the how-to is a little photo heavy, it really is very simple with supplies you probably already have on hand.

Using black construction paper and a pencil, draw shapes of leaves.  We went with ovals and pointy ovals as they were the types of leaves we viewed.    Exactness is not required as nature is not exact either.  We used black construction paper because it gives a bit of depth (and I happen to have a lot leftover from last Halloween, lol).  Also, we smudged some leaves, kept sharp lines on others-- this was to the taste of each of my kids.  If you have chalk fixative, gently coat the paper and let dry for an hour or so before cutting out leaves.  The fixative makes for less smudging and hand washing during the assembly of your project.


We had pieces of cardboard in our craft bins, so we used those to make the tree trunks.  After drawing them, Em and Ro cut them out and colored them in.  They made sure to get the sides as well.  This (plus the attachment step below) gives the tree a bit of depth.  Spray these as well.

Attach the tree trunk to a piece of cardstock or construction paper.  We didn't put the tree right at the bottom so that we could add in a bit of grass and roots.  In the photo below, you can see the trick to making everything stand out on the page-- 3D glue dots.  I had these on hand and they are available at any craft store.  If you don't have these, tape is fine.


To give some of the leaves even more height, we used scrap pieces of cardboard in between two 3D dots.  

Have fun placing your leaves however you want them.  Some are flat on the page with flat glue dots, some are raised up with the 3D dots (and the method above).  Em and Ro had fun layering them to try and resemble a real tree.

If you haven't already done so, finish your art with some grass and tree roots.  (As you can see, in the above photo, Em did it before, but Ro did his after.)


Give a final spray of fixative and you're all set for display!

We did this craft over the course of a few days to stretch out the fun.  To hang them in our homeschool classroom, I did have to use a few thumbtacks behind the leaves as it was a little heavy with the cardboard and glue dots.

If you try this craft, we would love to see what you make!  Please feel free to link back in the comments.
I hope you are enjoying the late summer season and have a lovely weekend!

Thursday, August 28, 2014

Observing late summer in Southern California

Last week, Em, Ro, and I went for a few Observation Walks to try to find frogs for part of Em's 5th grade science assignment.  Summer in Southern California (especially in a three year drought) leaves very little leeway for amphibian sighting!

Rather than call the days a loss, we decided to hike through Malibu Creek and see what was going on in the late summer season.
 

We found wee fish, crayfish, dragonflies, leaf bugs, and a few things I couldn't identify.  Alas, no frogs.


Sadly, we also found quite a bit of litter (see above) in the creek as well.


After an hour of looking for frogs, we decided to take the hike towards the Malibu Creek visitor center and stop nearby with our picnic lunch.  As public school in Los Angeles is already underway, we had the place nearly all to ourselves.  We stopped many times along the trail to watch lizards sunning on the path, to listen to scrub jays chatting in the trees, to feel the dry brush, and to ponder the growing future tumbleweeds in the dry creek bed.  (we love tumbleweeds!)

Coming home, I decided that this trip was the perfect time to incorporate some art into our day.  So, out came the chalks and paper.  And tomorrow, we will show you how our interpretation of the late summer trees was done.  Until then, have a wonderful day!


Wednesday, May 28, 2014

Winding down and Ramping Up

If you were to set foot in our house, it would be clear that we are both winding down and ramping up for summer.

We are winding down our school year here with Em and Ro-- finishing up the last tidbits of 4th and 2nd grade homeschool.

Final art lessons showcasing gardens intermixed with actual backyard garden planning and planting.


Freeform outdoor discovery taking over (and lengthening) the scheduled outdoor yoga lessons.


California history lessons have been slowly replaced with reading, snacking, and napping in the treehouse... and the lists of "summer to-do" items keeps piling up.  I especially love the simplicity of items to check off like "sleep in" and "make water balloons" mixed with things I never knew they wanted like "get a hamster" and "repaint the treehouse".


I have several fun crafts planned for the coming weeks as well and hope to have those up and available soon.  I ordered a downloadable subscription from Corinna of Piddix to help challenge my crafting mojo (Piddix is where I got the bird and flower downloads to make my necklace tutorial-- remember that?)  I also ordered a bunch of wood supplies from Casey's Wood and have been slowly piling up other bits and bobs around the house.  Since Em and Ro switched from public to homeschool, our crafting time has increased and blossomed-- it's pretty messy and fun!

Lastly, my office/craft room will get a makeover in a big (to me) way this summer as well.  I hope to be able to share all of that here and help others with a room makeover on a budget.

Break time is over... back to school I go!  Happy Wednesday everyone.
-Hettie

Friday, August 2, 2013

This week in photos

Happy Friday Everyone!

It's been a busy week in our family and my camera was a bit neglected.  But, I have a few photos from the house mostly where we've been planted this week.
Blackberry Cordial in the making... the recipe is from Lola Zabeth's beautiful site.

We spent a lot of time outdoors this week and I seem to have taken oodles of photos of my one big lavender plant.  We have four more coming up!  I have plans for these plants... Em and Ro love the scent so I've been collecting and drying little bits at a time.

One of six hummingbirds that we see on a regular basis.  I had the wrong lens on my camera, so I apologize for the ultra zoomed in blurryness.

Needing quiet time to meditate and think things through, I turn to embroidery.  Though I am still a beginning beginner, I find it relaxing to craft and clear my mind with a bit of thread.  This car is from Jenny Hart's book Sublime Stitching and was requested by Ro for his quilt.

Em and Ro love crafting with wood.  These are cut up paint stir sticks from Home Depot... do you know how many nifty crafts people are making with these?  I've been having fun on Pinterest looking at all the creative uses people have come up with for these simple pieces.  We started with the idea on RuffledBlog of making a table runner... but now we're not so sure.  Stay tuned!

Next week is the last full week of summer vacation for my boys, so I expect you'll see more beach photos and maybe a back-to-school craft or two.  I hope you all have a lovely weekend!
-Hettie


Saturday, June 29, 2013

Phone photos and pinning

Happy Summer!

I've been quite neglectful of this sacred space of mine.  This past year has really knocked me for more of a loop than I realized and many changes have taken place.  When I went to look for photos to prove that I'm still around and a crafting/teaching momma, I was hard pressed to find "photographic proof"!  My poor camera has been neglected too as the ease of my cell phone is more readily available.  A lot of time has been sucked into the addiction known as Pinterest as I search for supplemental schooling lessons for Em and Ro in between pinning nifty crafting ideas and ogling the dessert photos.  Are you on there?  What do you love about Pinterest?  Do you actually do any of the things you Pin or do you use it as more of an idea board?

In between cello practice, reading together, and making things together, I did manage to snap some shots on my phone of things we've made (via Pinterest tutorials or other places).  Links to tutorials are below if I have them.  (My apologies for photo quality!)

 Rosemary and Cacao Hair Rinse via Mountain Rose Herbs.  Em and Ro use the Chamomile Rose Rinse on the same page.  We've been rinsing rather than shampooing for about eight or nine months now so I've gone through many rinse recipes and find these are the ones I gravitate to over and over again.


 Copy Cat Lip Balm from The Art of Homemaking.  My tubes, tins and most supplies are from Mountain Rose.  This batch should last until about Christmas maybe with the uncolored ones for Em and Ro (Rob does not use lip balm) and the pinky ones for me.


Are you sensing a pattern yet?  I'm going to be talking about it soon-- our changes to a more natural pantry and such.  But for now, I hope the links will suffice.  My latest batch of healing salve that is, (in my second batch opinion) better than Neosporin.  The recipe is from Katie of WellnessMama.  I keep a small one in my purse with my aid kit, a big one in the fridge for big scrapes (the coolness is unbelievably calming as well as healing) and the rest are in a cool storage spot.  With active boys, this batch ought to last 'til January I think.  We use the salve for massaging dry skin as well.


The last Home Spa thing I promise.  Ro and I made these yesterday.  Bath Fizzies that I do not have a finished photo of.  There are oodles of recipes out there and I seem to have misplaced mine but I will find it if anyone asks.


Lastly, a photo of where I spend most of my time... resting with the boys and researching this and that.  If you look closely, you'll see my camera parked on the blanket (another thing I forgot to blog about) and the shadow shows me using my phone to snap this pic!  Too funny...

I'm trying to have a bit of me time to keep CelticMommy up and running and I know it's been sporadic.  So many things continue to happen and come up that writing sits on the proverbial back burner.  I miss it and I truly hope to get back to it more often.  Until next time, pop on over to my Pinterest and see what I'm probably prepping for you to read about on here.  :-)

I hope everyone is having a great weekend and a great summer so far!
Hettie

Wednesday, July 4, 2012

Happy Independence Day


We hope you and your family are having a 
loving and peaceful 4th of July!!


The healing process has been slower than planned and I've missed my writing greatly.  Back soon, really!!


Tuesday, September 13, 2011

Crafty Work in Progress

Utterly not ready... but still, it is a craft in progress.

I always try to have many tests of many kinds before I put a tutorial up, so I thought I would show you one of our first mom & kiddo attempts.  We all learn and improve from our trials and errors, right?  Right!


So, what is it?  Right now, it's just an idea stemming from another idea I saw about using glue to create raised surfaces.  The materials used are recycled USPS boxes (see the fold edges?), glue, acrylic paint and shoe polish.  When I am done and the tutorial is up, I will probably have omitted the shoe polish for glitter or luster dust.  While the shoe polish is effective, it is pretty smelly!  We'll see...

Not much for today as I going back and forth between an unhappy sick kiddo, the kitchen and the computer.  More tomorrow I hope.

Happy Tuesday,
Hettie

Friday, May 13, 2011

Birthday Crafting

What to make for Daddy they wondered...
What's in the house to make with they asked...
A cuppa salt, a cuppa warm water and two cups of flour...
Simple dough to sit with a sibling and shape and share and celebrate...
Bake at 225 'til firm... Is it ready yet Mommy?
Giggle and paint.  Laugh and paint.  Fingers and paint.

Happy Birthday Daddy, we love you!

Thursday, November 25, 2010

Thanksgiving and being thankful

These past weeks have all been centered around what we are thankful for...


Foam leaves and trunk cut out by the boys and I and then glued to a simply painted poster.


Thinking of things to be thankful for brings up more things and still more.  It is a wonderful cycle!  :-)

Happy Thanksgiving!

Tuesday, August 31, 2010

This moment

I've been doing a lot of thinking and rearranging of things in my head.  Crafting priorities have shifted and my workspace needed a shift too.  For the one day it is immaculate, I took a photo to show you all!

My sewing machine is temporarily put away as I am focusing more on writing, photography and crocheting... well, those three mostly anyway.  Here's a sneak peek.  If you click on the photo, it will blow up larger.

This is my corner of the craft room at this moment.

Monday, April 12, 2010

It's a Lego Party!!

Many of you may know that my kids' birthdays are just days apart... and fortunately, they are close enough in age to not mind having a joint birthday party. This year, the chosen theme was Legos! Oh yay, Legos!!

Oh no, Legos!!

One of the great things about having a Lego party, is the lack of supplies available. You can't just walk into your local party store and buy Lego plates and Lego napkins and order a Lego cake and Lego balloons. There are a few Lego theme specific items out there, but not much. This proved to be a fun crafting challenge for the boys and me.

First of course, were the invites which I covered in a blog below, but what then? Googling Lego parties brought up LOTS of resources and I looked at as many as I could and began formulating ideas. By the end of very long evening of sitting at this desk, I had a plan! Here is what I did.

#1- I wanted to make Lego crayons. Having made molded crayons in the past, I knew this would be a great activity to do with the boys. Originally, I had planned to make my own Lego molds like SFHandyman on Instructables, but found out that my local Lego store had molds. As much fun as it would be to make my own silicone molds, I knew I might run out of time, so I went with pre-made molds instead. I made sets of four crayons each for each goodie bag and kept on plowing away at my other ideas.


#2- I wanted to make Lego candies. Using the same molds, I made lemon, orange, vanilla and gummi sour raspberry Lego blocks and Lego mini figures. The sour gummi recipe was from The Ultimate Candy Book and were a cinch to make. I wish I had made more! The lemon, orange and vanilla candies were made with Boyajian oils. Since I could only make 28 candies at a time, I was able to make a variety in the week prior to the party. I added homemade marshmallows to the candy tray since they look close enough to bricks as well. (On the marshmallow recipe, I double up on the vanilla!)

#3- We needed some Lego themed entertainment at the party. In addition to a bouncer, I wanted to have our Legos out to play with... this is after all a party for 4 and 6 year olds. But, not everyone is in to Legos, so I also made a coloring page. I found this cute doodle made by Ryan at Doodle Masters and changed it into an outline to color. Another free font for coloring and I was set with coloring pages.

We also had a Lego tower building contest... whichever party-goer made the tallest tower, went home with this Lego frame, made with a wood frame from Michael's that I painted and stamped the same as the invites.
#4- We needed decorations! Rolls of crafting paper have so many fun uses! I made two 2 1/2' by 12' long signs saying "Happy Birthday" and one of my kids' names. We hung these with primary colored streamers in the house. Our outdoor speakers piping Dan Zanes and a bubble machine helped add atmosphere to the back yard.

#5- We needed to make goodie bags! Again, the lack of Lego branded items worked in my budget-minded favor here. I bought these bags on sale at Michael's and then customized them with each party guests name. Actually, I shouldn't say "I" because both Em and Ro helped with this as well. We cut card stock into 1 inch strips, added the foam letters, and then affixed each name with Zots 3D dots. A few more treats and a thank you tag for each bag and we were set to go.

I think that is about it on how-to and steps and resources. If you have any questions, please feel free to ask. Everything I made was for personal use only and never sold... I just need to make that clear for the Lego legal side of things. :-)

Happy Lego Parties Everyone!

Thursday, March 26, 2009

Party preparation


Handmade invites using on-hand crafting supplies.

An afternoon of fun for Em, Ro and Mommy. I especially like how the glittery bubbles turned out.

More party prep to come.

Tuesday, June 3, 2008

A Garden Wagon and A Polar Bear

My mom's husband's birthday just passed and we painted a wagon planter for him. I found this cute wagon at Michael's and then we painted it and sealed it since it will certainly get some nice wear-and-tear at the garden co-op he and my mom belong to.
Then, Em drew Ted a polar bear named Apol for his birthday card. We found this cute activity in this weeks Kids Craft Weekly. Anyway, Apol is a special polar bear who collects snow to make into presents. He eats some of the snow, but the rest of the snow turns into presents for Santa Claus and then Santa can give them out. Apol also drinks ice and hot chocolate and lives in a snow house and he has a family. He is smiling in the picture because he is happy to be playing in the snow. (By the way, I love that Em draws all this snow and we live in the Los Angeles desert!)

HAPPY BIRTHDAY PAPA TED!!

Saturday, November 24, 2007

A turkey

Our front door decoration.

Feathers, glue, and a foam turkey from Michael's for $3.50.

Just add creativity.


Made my Em.