Showing posts sorted by relevance for query lemon. Sort by date Show all posts

Monday, April 25, 2011

Lemonade Cookies!!

We are quite partial to lemon everything in this family and I had not yet posted a recipe for lemon cookies.  I actually have another one in the works, but these were requested first.  I call them lemonade cookies because to me, that is what they taste like.  A bit tart and tangy and a bit sweet in each bite and I hope you like them.

Lemonade Cookies
Ingredients:
  • 2 tbsp. grated fresh lemon zest (or 1 1/2 tsp. Penzey's Powdered Lemon Peel)
  • 1 cup unsalted butter at room temperature (I use Trader Joe's Organic)
  • 1 1/2 cups granulated sugar PLUS 1 cup in a bowl for rolling cookies in
  • 1/4 to 1/3 lemon juice, fresh (about 1 lemon worth)
  • 1 tbsp. Vanilla Extract
  • 1 tsp. Lemon Extract (If you do not have this on hand, omit.  Penzey's is fine.  If using Boyajian, reduce to 1/2 tsp.)
  • 4 egg yolks at room temperature
  • 1 3/4 cups all-purpose flour (I use King Arthur)
  • 1 cup cake flour (King Arthur or Bob's Red Mill)
  • 1/2 tsp. salt
  • 1/2 tsp. baking soda
  • 1 tsp. Cream of Tartar
Separately for glazing:
  • 2 cups powdered sugar
  • 2 tbsp. milk at room temperature
  • 1 tsp. Lemon Extract
Directions:
  1. In a large bowl, sift flours, salt, baking soda and Cream of Tartar, set aside.
  2. In a stand mixer, combine lemon zest, 1 1/2 cups sugar and butter until creamy.  Scrape sides if needed.
  3. Add lemon juice and mix.  Add vanilla and lemon extracts and mix.
  4. Add egg yolks, one at a time and mix until just combined.
  5. Add flour mixture in two parts to avoid flour/dust cloud and mix until just combined.
  6. Scrape sides down, cover bowl and let dough chill for 1-2 hours or overnight.
  7. When dough is chilled, transfer to a floured surface.
  8. Preheat oven to 350 degrees.  Prepare baking sheets with either parchment paper or Silpats.
  9. Make 1 inch round balls and roll in 1 cup granulated sugar in a bowl or on a plate.
  10. Place balls 3 inches apart on cookie sheet.
  11. Smoosh balls to 1/4 inch thick disks.
  12. Bake for 7 minutes, turn cookie sheets and bake for an additional 7-8 minutes.  The edges will brown slightly.
  13. Transfer to a wire cooling rack and repeat until all cookies are made.
  14. In a bowl, mix powdered sugar, milk and lemon extract with a fork.
  15. Use fork to drizzle glaze onto cookies.  Let the glaze set for about 15 minutes before serving.
 Makes about 30 cookies.


Friday, July 16, 2010

Lemon Jells

I was finalizing a care package for a friend of mine and wanted to add some lemon flavored candies in the package.  These tasty jells were just the ticket, though I won't be making these again in the middle of a heat wave!  With a sweet inside and an optional puckery outside... you could probably also make them with limes or grapefruits if you chose.

Lemon Jells (makes 64-81 jells)

You will need:
A candy thermometer 
A heavy, non-reactive, 2 quart saucepan
8 or 9 inch square baking pan

Ingredients:

  • 4 envelopes unflavored gelatin

  • 2 cups of granulated sugar

  • 1 cup of superfine sugar (for coating)

  • Up to 1 tablespoon citric acid (optional for puckery coating)

  • 1 cup cold water

  • 3/4 cup fresh squeezed lemon juice

  • 1 teaspoon fresh grated lemon rind (or 1/4 tsp. Penzey's powdered lemon peel)

  • Optional 1-2 drops yellow food coloring
Directions:

  1. Spray baking pan with non-stick cooking spray.  Set aside.

  2. Put 1/2 cup of the cold water into a bowl.  Add gelatin to soften.  Do not stir.  Set aside.

  3. In saucepan, add remaining water and 2 cups granulated sugar.  Set on medium-high heat to dissolve sugar, stirring often.  When it comes to a boil, set candy thermometer on side of pan.  Do not stir!

  4. Let sugar mixture cook until it reaches the hard ball, 260 degree setting on the thermometer.  Remove from heat.

  5. Add gelatin.  Mixture will foam up.  Stir until combined (about 30 seconds).  Add in food coloring if using and lemon juice and rind.  Stir until combined.

  6. Pour mixture into square baking pan.

  7. Leave pan on the counter for 3-4 hours until the jell is set.  Do not refrigerate.

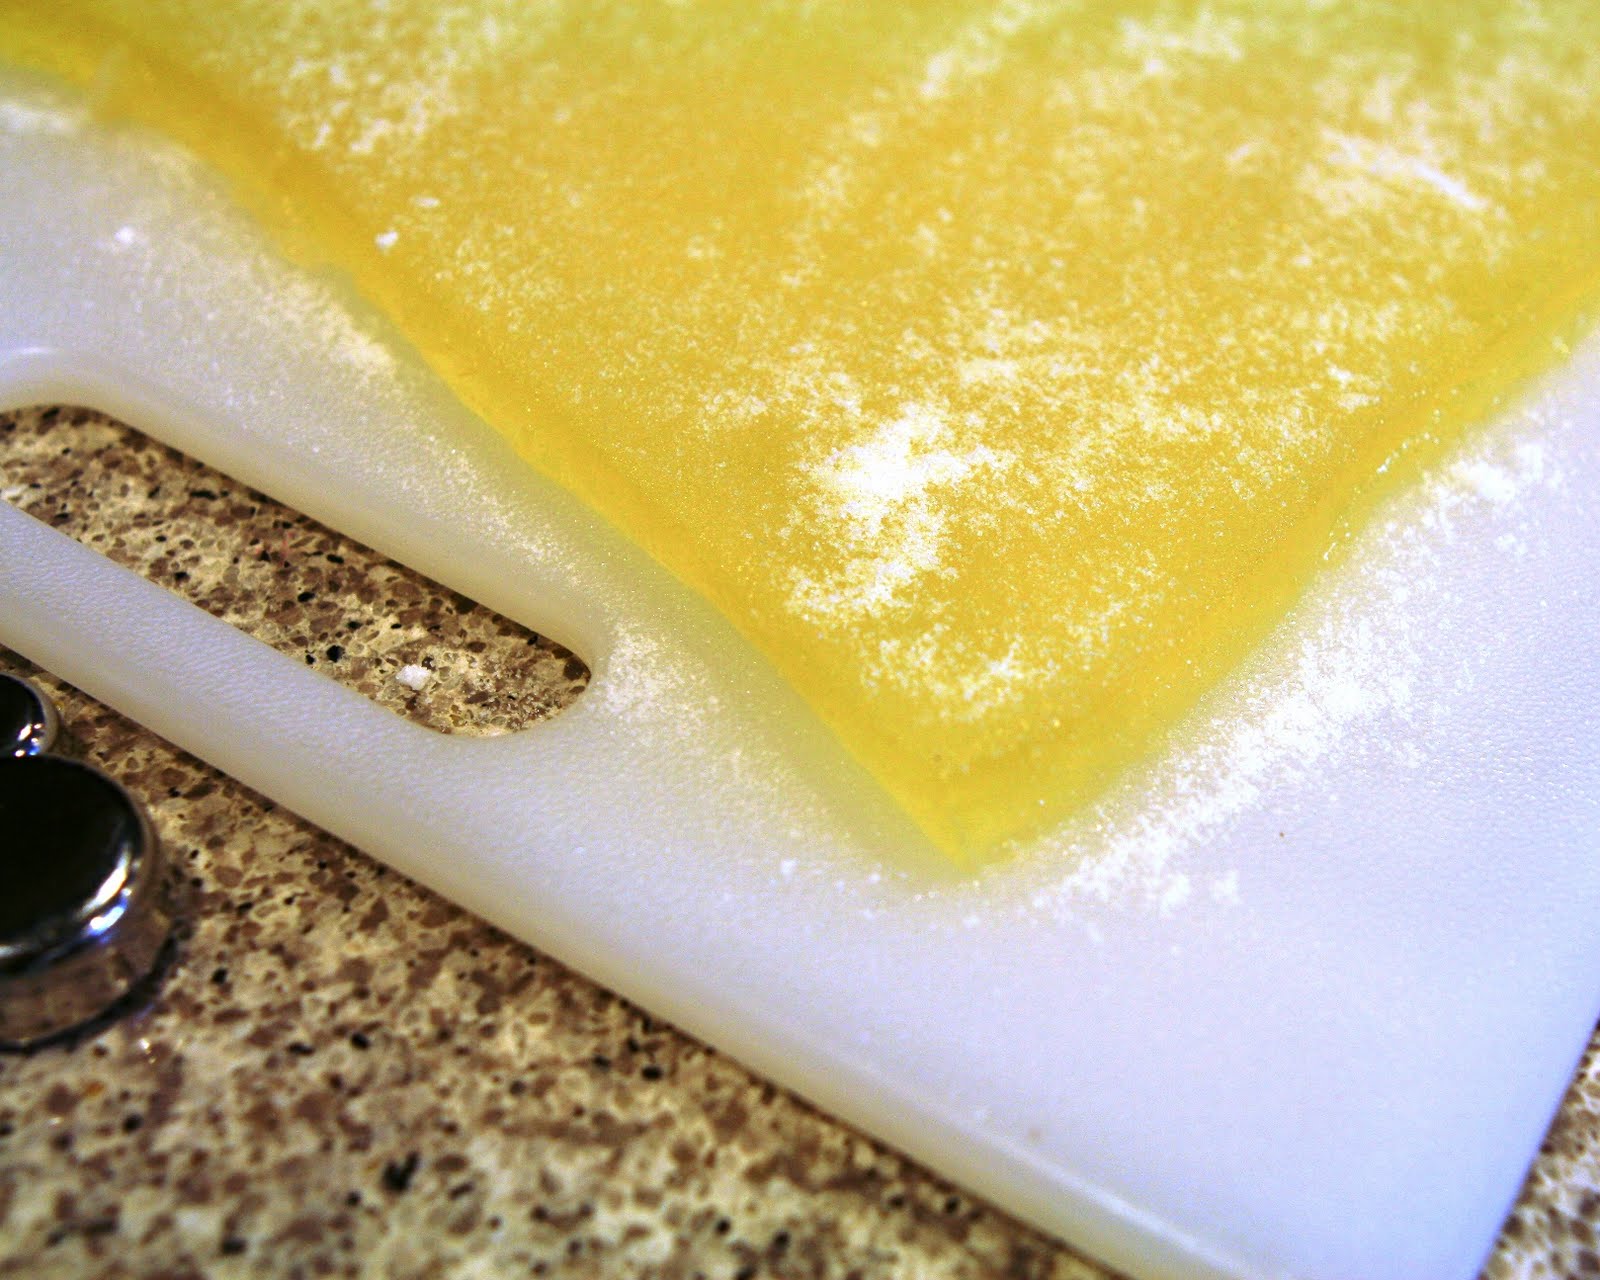
  8. Combine superfine sugar and citric acid if using in a small cereal bowl.  Lightly sprinkle jell square so it is easier to handle.  Gently flip pan and remove jell with a flexible spatula.  It should plop right onto your cutting board. 

  9. Cut jells into 8 or 9 1 inch columns (depending on your pan) and cut those into 8 or 9 pieces each.


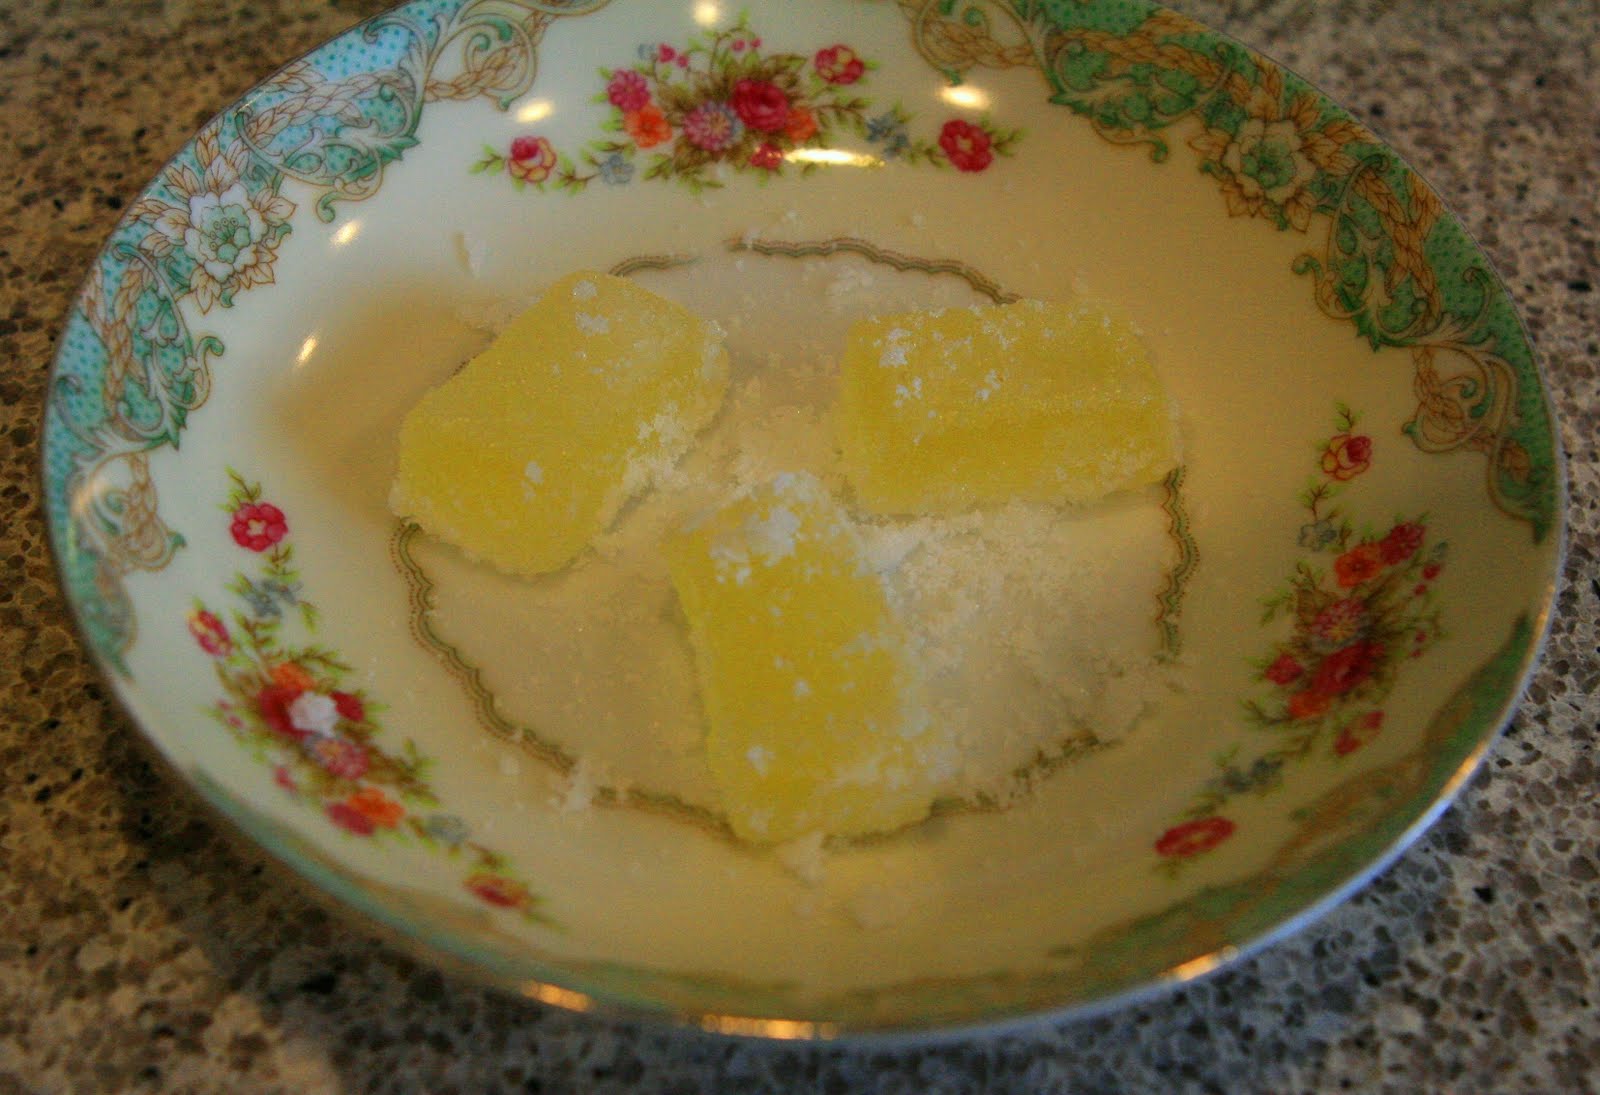
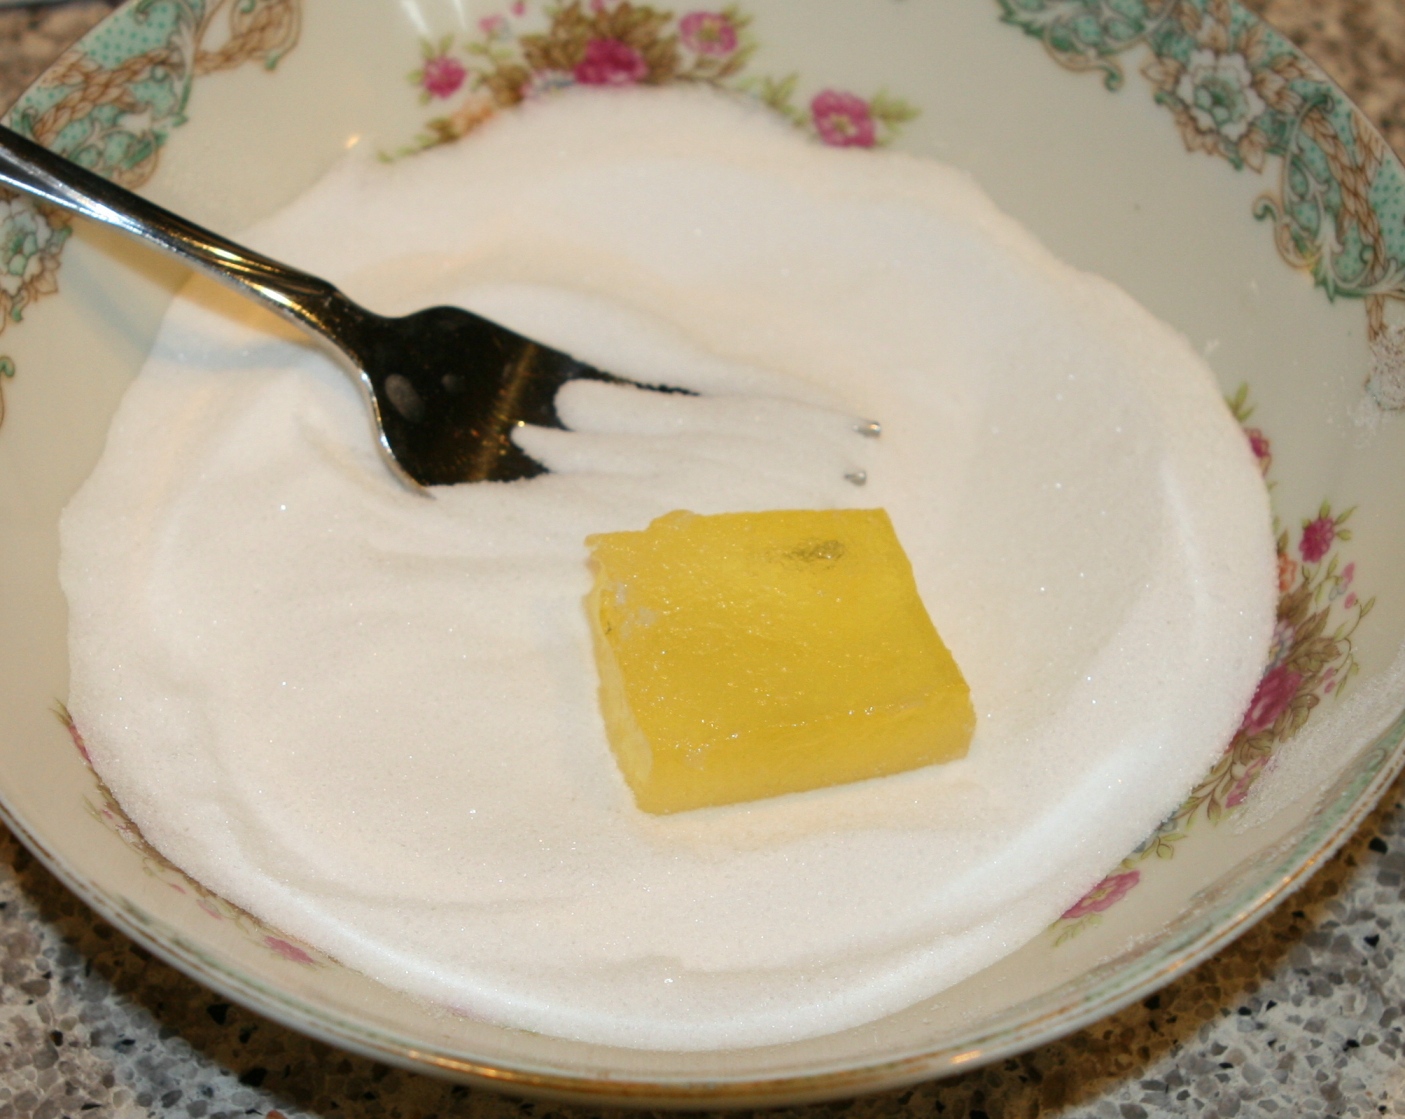
  10. Now comes the messy and fun part.  Coat each jell with the sugar/citric acid mixture.  Your hands will get sticky. 

  11. Place pieces in a container with a bit of sugar in the bottom.  If stacking, add wax paper in between each layer and add a bit more sugar to the bottom of the new layer.  If your area is hot or humid, the sugar/citric acid will soak into the jells and might need to be reapplied if you prefer.

Enjoy!  Oh, and here is a reaction from Em... despite the massive puckery faces he made, he kept coming back for more!  Have a great weekend everyone!

Tuesday, July 31, 2012

Lovely Lemon Uses

Last week I was stir-frying some veggies as part of our dinner and used 1/2 of a juicy Meyer lemon in the sauce.  In my rush to get the family meal on the table, I left the other half of the lemon on the counter where it stayed overnight.  The next morning, it had puckered a bit and looked dry.  But, all was not lost!!  Never one to toss lemons in the compost bin without them being thoroughly used, I worked with the remaining half to clean off my counters, shine up a bit of stainless steel and brighten my fingernails.  You may think it is a little bit silly to think of the 1/2 lemon as saving the day, but that's the way my brain works sometimes.

Since it has been quite some time since I posted of my love of the lemon, or of anything actually, I snapped a photo of said lemon half and bring with it a few ideas you may or may not know of on how this acidic citrus can work for you.


I hope you've found a useful tip for using your lemons and hope you have a wonderful week!
-Hettie

Thursday, January 10, 2008

Dinner with family


Last night, Rob's cousin and Aunt came over for dinner. I decided to make one of my staple dinners-- lemon chicken skewers, and used a new dessert recipe as part of my New Year's Resolutions.

Lemon chicken skewers. This is a cinch!
Ingredients:
  • Boneless, skinless chicken breasts cut into 1 inch cubes (easiest to cut if a little frozen). One breast per person usually works well and will make about 2 skewers. Marinade below was used for four chicken breasts.
  • Juice from 2-3 lemons - at least 1/2 cup
  • Juice from 1 lime (optional)
  • 1/2 cup olive oil
  • 1/4 cup parsley, chopped
  • 2 tbsp. finely chopped garlic
  • 1 tsp. sugar
  • 1 tbsp. salt
  • 1 tbsp. ground pepper (white or black)
  • 2-3 medium onions, chopped into 1 inch pieces (big enough to skewer)
  • 1 pound white mushrooms, whole
  • About 15 wooden or metal skewers. If wooden, soak in water for 20 minutes before using to avoid scorching on grill or BBQ.
I made this indoors on a Lodge cast iron grill pan. Outdoors is even better... less cleanup!
Directions:
  • Throw lemon/lime juice, oil, parsley, salt, pepper, garlic and sugar into a big bowl. Whisk to combine.
  • Put all ingredients in the marinade and mix around to coat everything. Seal bowl with plastic wrap and refrigerate for 2 hours, stirring at the one hour mark if possible.
  • When done marinating, put chicken on skewers alone. Veggies on their own skewers. Can add tomatoes, pineapple, bell pepper or anything else you like as long as they are lightly coated with oil.
  • Grill or BBQ until done. Can re-coat chicken and veggies while grilling with marinade but do not use it to pour over everything after done cooking as it held the raw chicken.
  • Serve with Jasmine rice, Pita and Naan bread, a giant salad and any side veggies you like. Cous cous is another great side with toasted pine nuts and golden raisins.

Tuesday, July 16, 2013

Recipe: Grilled chicken and strawberry salad with BBQ baked potato


Temperatures are topping the 100 degree mark here this week so all of our dinner making moves outdoors.  One small thing is made indoors and can be done early in the day before it gets too hot to use the stove.  Or, you can just buy that one thing pre-made and keep your indoor kitchen cool.  The preparation may seem long, but it's really not... I just wrote every step out so you can see how everything is ready-to-go at the same time.

Grilled Chicken and Strawberry Salad with BBQ Baked Potato
(serves 2 adults and 2 children)

Ingredients:
For the grilled chicken

  • 3-4 boneless, skinless chicken breasts
  • 1/3 cup olive oil
  • Juice of 1/2 lemon
  • 2 tsp. coarse sea salt or other coarse salt
  • 1 tsp. black pepper
  • 1 tsp. granulated garlic
  • 1 tsp. granulated onion
  • 1 tsp. granulated sugar
  • 1 tsp. sweet paprika
For the BBQ Baked Potatoes
  • 3-4 8 ounce Idaho baking potatoes
  • 1/2 cup olive oil
  • 1-2 Tbsp. coarse sea salt or other coarse salt
  • Unsalted butter, sour cream or toppings of your choice
For the Strawberry Salad
  • 2 heads romaine lettuce
  • 1 pound ripe strawberries
  • 1/2 cup candied walnuts (pre-made or make ahead)
    • If making, need 2 Tbsp. unsalted butter, 1 Tbsp. brown sugar, 1/2 tsp. salt, 1/4 tsp. cinnamon
  • 1/2 cup sharp white cheddar cheese, shredded
  • Balsamic vinaigrette 
Directions:  The first two steps can be done earlier in the day if you have time.
Make the candied walnuts.  Toast walnuts on stove top on low flame for three minutes, stirring constantly.  Add butter, brown sugar, salt and cinnamon and stir for 2-3 more minutes.  Lay on napkin or paper towel to cool.  Set aside.

Shred cheddar, chop lettuce and slice strawberries.  Set aside separately in the fridge to keep cool.


About 1 hour before dinner, make BBQ Baked Potatoes.  I wrote about these two summers ago and they have become a staple for us.  When you turn the potatoes at the halfway mark (about 25 minutes), you can start on the chicken.

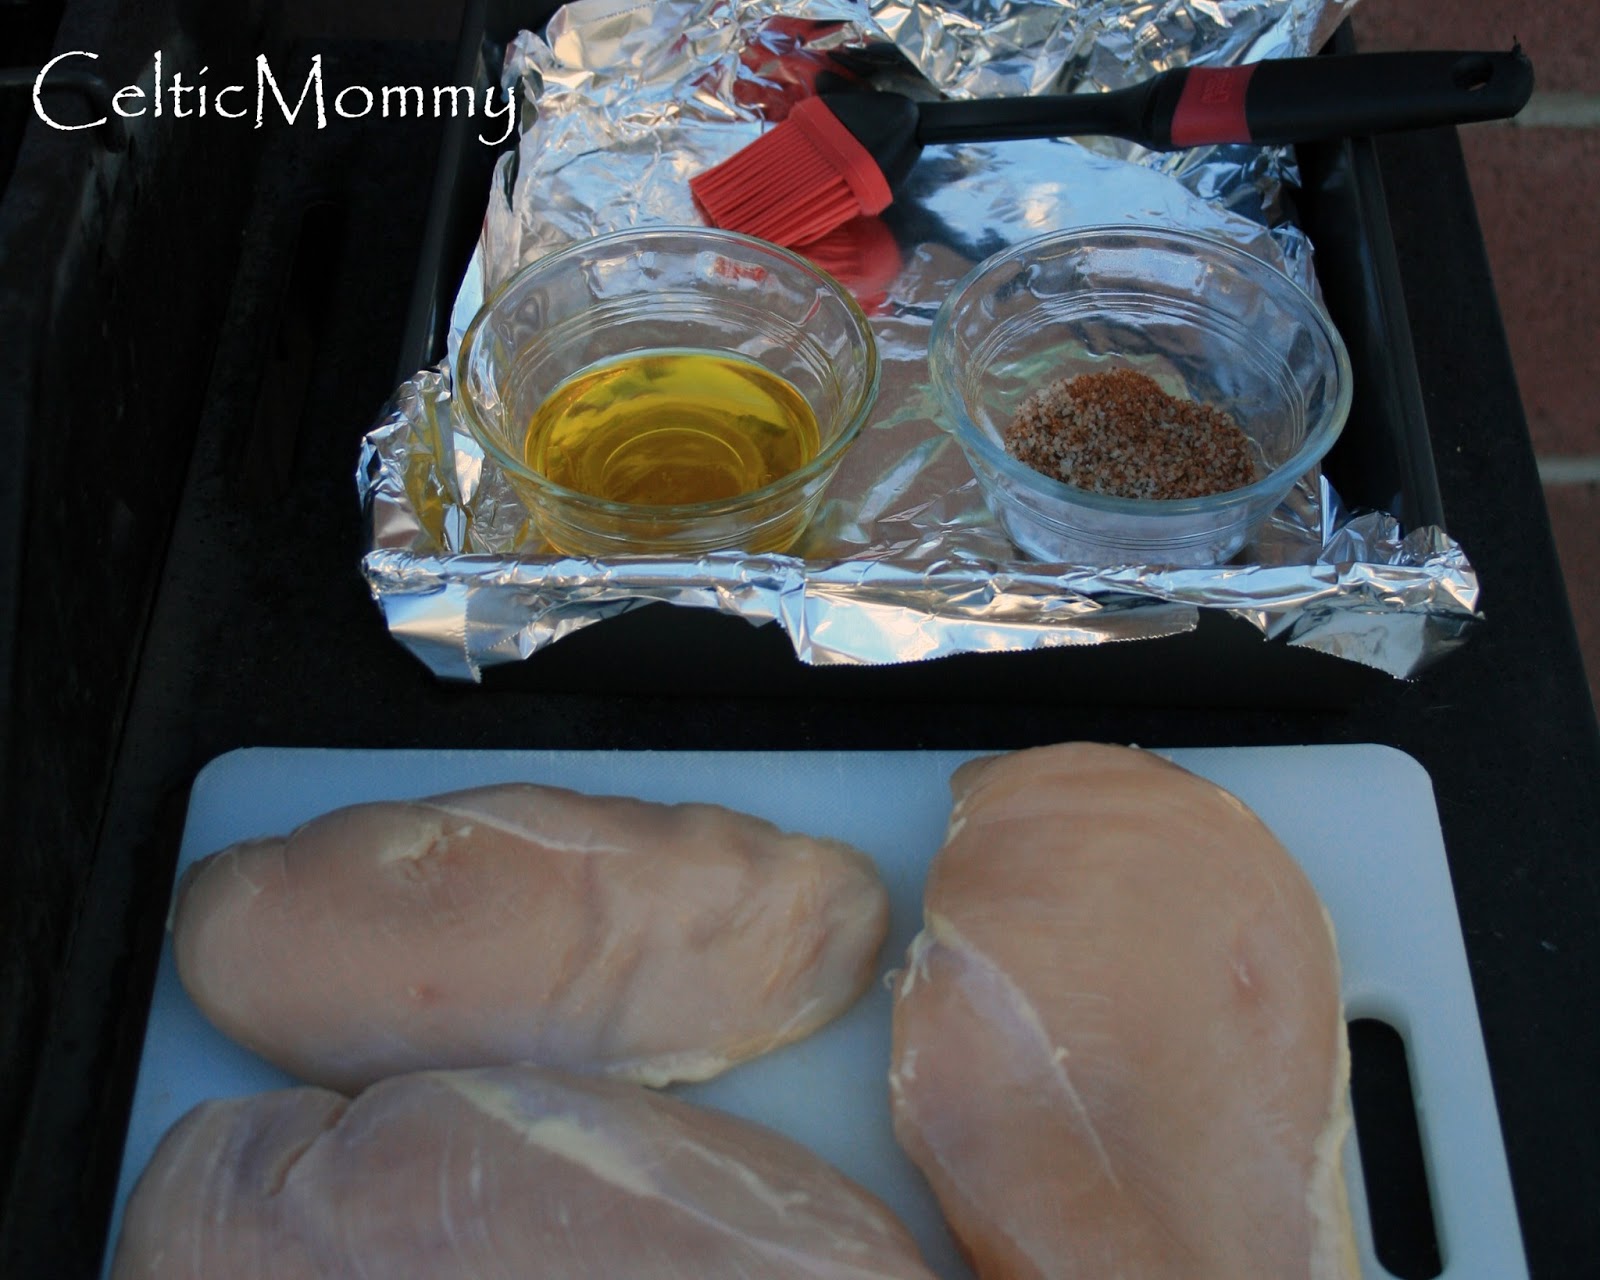
Making the grilled chicken.  Combine olive oil and lemon in a small bowl.  Combine salt, pepper, garlic, onion, sugar and paprika in another small bowl.  Wash chicken and pat dry.  Take everything out to the BBQ.

Brush oil/lemon on top of chicken breasts.  Sprinkle seasonings on top and place, face-down on BBQ.  Repeat for the other side of chicken quickly without burning yourself.  Close lid and let cook for 8-9 minutes depending on size of chicken breasts.  Turn and let cook until done and then bring in the house to cool. The potatoes are almost ready, so you can turn your BBQ off and leave them there for a few minutes.
  • On dinner plates, place chopped romaine, candied walnuts, and sliced strawberries
  • Bring potatoes in from BBQ, slice open and place on the side of plate (see photo up top).  Add toppings as you prefer but honestly, these only need a pat of butter.  The salt from the outside is deliciously crunchy and will find its' way in to the potato adding a smoky salt punch.
  • Slice cooled chicken and put on top of salad.  Sprinkle white cheddar over chicken and salad.
  • Lightly dress with balsamic vinaigrette and serve.
We had additional strawberries on the side, but honestly, the meal was the perfect size for each of us.
I hope you love this meal as much as we do.
Happy Grilling!
Hettie

Monday, January 3, 2011

Mmm Marshmallows

At long last, here is the recipe for marshmallows!!!  Finally!

I took the pictures of the steps for making marshmallows quite a bit ago and could not find them!  This past week, I was determined to figure out where my OCD sorting brain thought they should go. 
Here we go!
Ingredients:
3 packages gelatin, unflavored
1/2 cup cold water
2/3 cup light corn syrup
2 cups granulated sugar
1/4 cup water
1/4 tsp. sea salt
1 tablespoon vanilla (I used Penzey's Double Strength Vanilla Extract)

Additionally you will need:
PAM cooking spray
Saran Wrap
9x9 inch square pan
KitchenAid stand mixer with whisk
2 quart saucepan
Plastic spatula
Sharp sharp sharp knife
Cutting board
1 cup confectioners sugar -OR- Ghirardelli Sweet Ground Chocolate and Cocoa for coating marshmallows

Honestly, these are super simple to make but messy.  But messy in a fun way.  Make sure you understand the prep work before beginning to avoid frustration mid way through your candy-making.

Directions:
1-  Coat square pan with PAM cooking spray and line pan on bottom and all four sides leaving plastic overhanging.  Spray plastic again with PAM.  Set aside.
2-  In your stand mixing bowl, add 1/2 cup cold water.  Add gelatin and set aside.
3-  In saucepan, add corn syrup, sugar and 1/4 cup water.  Stir to combine.  Heat sugar mixture on medium until it comes to a boil.  Do not stir!  Turn heat to high and let boil for an additional minute.  Turn off heat and add sea salt.  Do not stir.
4-  Turn stand mixer with whisk on medium.  Being careful not to burn yourself, slowly add hot sugar mixture along the side of the bowl.  Once combined, set mixer on high and mix 10 minutes.
5-  Add vanilla along the side of the bowl and mix additional 3 minutes.
6- (OPTIONAL)  If you want to color your marshmallows, add colorings now.  Marshmallows will turn out pastel colored unless you add a ton of coloring, but this can also effect the texture of the marshmallow so I wouldn't recommend it.  Additionally, you can substitute Vanilla for other flavorings such as lemon, orange, peppermint or chocolate extract.  Use same 1 tablespoon measurement for peppermint or chocolate.  Use 2 tsp. of lemon or orange extracts.
7-  Spread marshmallows into prepared pan.  Use spatula coated with PAM to scrape bowl.
8-  Use plastic overhanging covered with PAM to cover marshmallows.  If not completely covered, spray another sheet of Saran Wrap and cover (face down).
9-  Let marshmallows set up for 2-3 hours or overnight.
10-  When marshmallows have set, prepare to cut and coat them.  Pour confectioners sugar or cocoa in a shallow bowl.  Sprinkle more confectioners sugar or cocoa onto cutting board so marshmallows won't stick.
11-  Take Saran Wrap off the top of marshmallows and sides.  Invert as you would a cake and the marshmallow brick should pop right out.  Take off the rest of the plastic wrapping.  Sprinkle confectioners sugar or cocoa on top of marshmallow brick.
12-  With a sharp knife, cut long strips of marshmallow.  I usually do 3/4 to 1 inch strips.  Cut these into squares, coat lightly with sugar or cocoa and set on a plate.
13-  Continue until you are done!  3/4 inch squares will yield about 144 marshmallows give or take.  1 inch squares will yield about 81... that is, if they all make it to the plate!

Happy Candy making!

Monday, April 12, 2010

It's a Lego Party!!

Many of you may know that my kids' birthdays are just days apart... and fortunately, they are close enough in age to not mind having a joint birthday party. This year, the chosen theme was Legos! Oh yay, Legos!!

Oh no, Legos!!

One of the great things about having a Lego party, is the lack of supplies available. You can't just walk into your local party store and buy Lego plates and Lego napkins and order a Lego cake and Lego balloons. There are a few Lego theme specific items out there, but not much. This proved to be a fun crafting challenge for the boys and me.

First of course, were the invites which I covered in a blog below, but what then? Googling Lego parties brought up LOTS of resources and I looked at as many as I could and began formulating ideas. By the end of very long evening of sitting at this desk, I had a plan! Here is what I did.

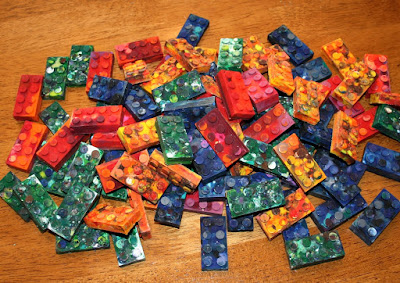
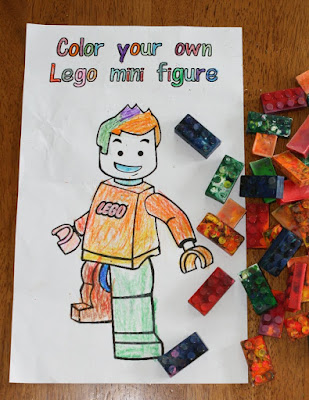
#1- I wanted to make Lego crayons. Having made molded crayons in the past, I knew this would be a great activity to do with the boys. Originally, I had planned to make my own Lego molds like SFHandyman on Instructables, but found out that my local Lego store had molds. As much fun as it would be to make my own silicone molds, I knew I might run out of time, so I went with pre-made molds instead. I made sets of four crayons each for each goodie bag and kept on plowing away at my other ideas.


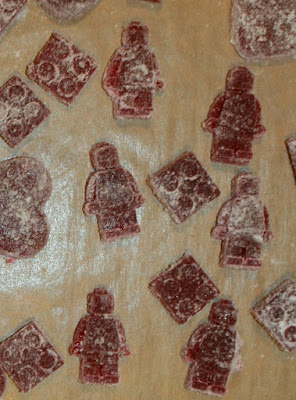
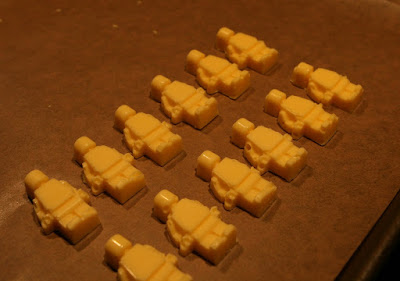
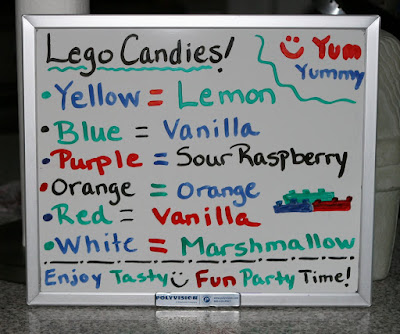
#2- I wanted to make Lego candies. Using the same molds, I made lemon, orange, vanilla and gummi sour raspberry Lego blocks and Lego mini figures. The sour gummi recipe was from The Ultimate Candy Book and were a cinch to make. I wish I had made more! The lemon, orange and vanilla candies were made with Boyajian oils. Since I could only make 28 candies at a time, I was able to make a variety in the week prior to the party. I added homemade marshmallows to the candy tray since they look close enough to bricks as well. (On the marshmallow recipe, I double up on the vanilla!)

#3- We needed some Lego themed entertainment at the party. In addition to a bouncer, I wanted to have our Legos out to play with... this is after all a party for 4 and 6 year olds. But, not everyone is in to Legos, so I also made a coloring page. I found this cute doodle made by Ryan at Doodle Masters and changed it into an outline to color. Another free font for coloring and I was set with coloring pages.

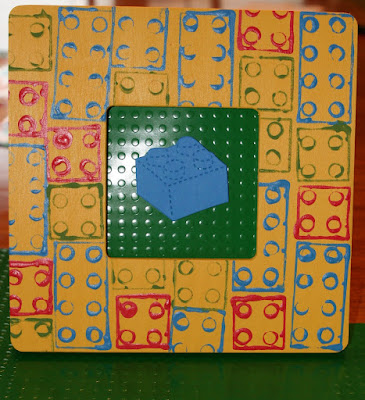
We also had a Lego tower building contest... whichever party-goer made the tallest tower, went home with this Lego frame, made with a wood frame from Michael's that I painted and stamped the same as the invites.
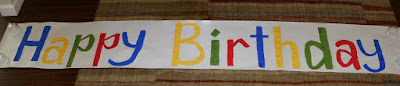
#4- We needed decorations! Rolls of crafting paper have so many fun uses! I made two 2 1/2' by 12' long signs saying "Happy Birthday" and one of my kids' names. We hung these with primary colored streamers in the house. Our outdoor speakers piping Dan Zanes and a bubble machine helped add atmosphere to the back yard.

#5- We needed to make goodie bags! Again, the lack of Lego branded items worked in my budget-minded favor here. I bought these bags on sale at Michael's and then customized them with each party guests name. Actually, I shouldn't say "I" because both Em and Ro helped with this as well. We cut card stock into 1 inch strips, added the foam letters, and then affixed each name with Zots 3D dots. A few more treats and a thank you tag for each bag and we were set to go.

I think that is about it on how-to and steps and resources. If you have any questions, please feel free to ask. Everything I made was for personal use only and never sold... I just need to make that clear for the Lego legal side of things. :-)

Happy Lego Parties Everyone!

Tuesday, January 18, 2011

No scurvy in this house!

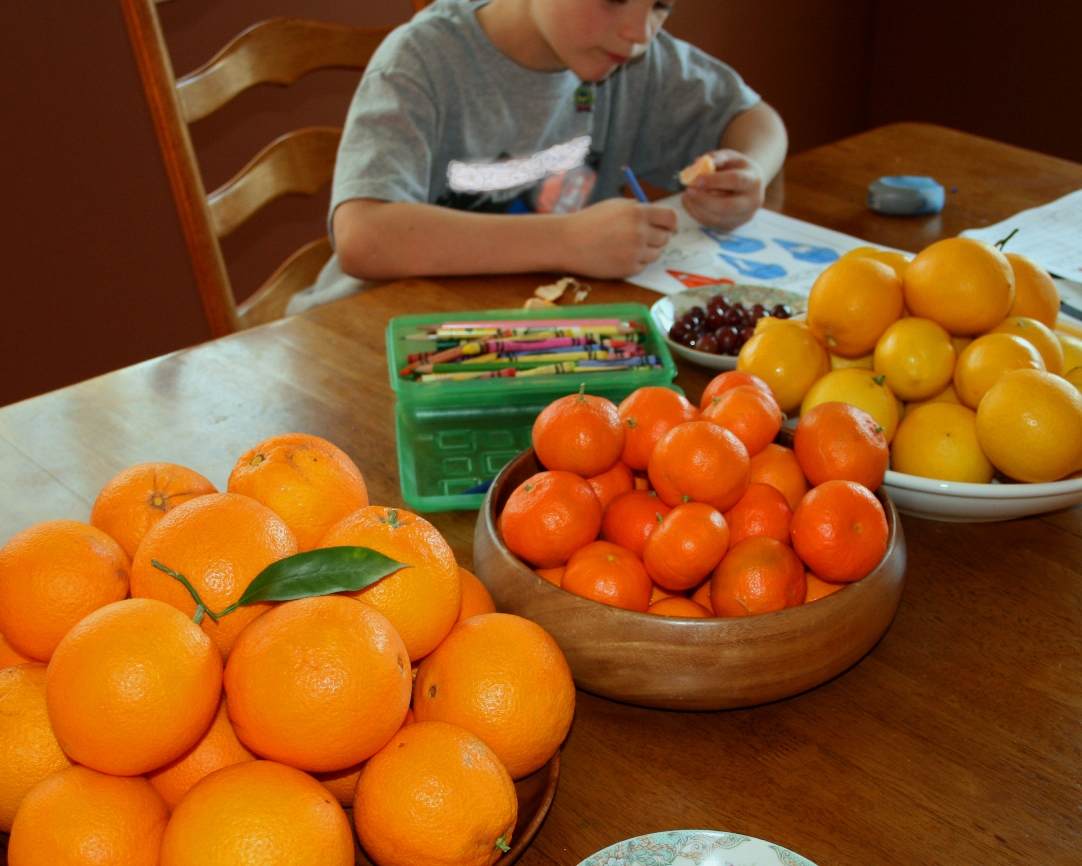
I am standing on top of small step stool, picking perfectly ripened California Navel oranges... some for me, some for my Mom, some for my in-laws, some to barter with my neighbors, some for... you get the point.  While on the step stool, I can peep over my neighbors fences and easily spot Meyer lemon, Tahitian lime, Clementine tangerine and Pummelo grapefruit trees... the joy of living in a post-WW2 era San Fernando Valley neighborhood!  It's a beautiful, sunny mid-January day and I can't wait to get down from here and peel my first orange of the year from our own backyard!

In the photo above, the citrus all hails from backyards in "the Valley".  They are all homegrown organic and vibrantly colored.  Most of the oranges and tangerines will be devoured within the week.  Almost all of those beautiful yellow lemons will be juiced tomorrow and used for drinking, cooking, baking and frozen for later use.  I think tomorrow or Thursday will be perfect for BBQing Lemon Chicken Skewers and some tart little lime and cream cheese cookies!  Wonderful doses of Vitamin C at the height of the cold and flu season.

Do you have an abundance of fruit or veggies from your local garden or backyard?  What do you do with it?

Tuesday, June 9, 2009

Zucchini Bread, Sauteed Zucchini...

This morning's zucchini harvest! In between refereeing two rambunctious boys and feeding them breakfast and lunch, I've been researching zucchini breads, muffins, side dishes, soups, etc. to prepare for the continual flow of this green veggie into my kitchen. As I try the recipes, I'll review them and post a few non-copyrighted ones.

Today's recipes:
From Apples for Jam by Tessa Kiros, Zucchini Bread
This recipe had me at the first line! "You can't really tell that there is a vegetable in here." Perfect for kids who love bread but are not always convinced easily to try new green veggies.
From Vegetables by James Peterson, Sauteed Zucchini with Garlic & Parsley
An easy and relatively quick recipe that will go perfectly with our main course tonight.


Later in the week when a few more zukes are ready, we'll try:
Bagley House Zucchini Lemon Muffins
Alice Waters' Pasta with Zucchini, Walnuts and Pesto I mean really... how can you go wrong with a recipe that includes pasta?!

What are your favorite zucchini, or summer squash recipes?
Pics from Sequoia coming later this week!

Wednesday, July 27, 2011

BBQ Baked Potato Recipe

Today and tomorrow I will give you two quick ways to enjoy a baked potato during these hot summer months without heating up your kitchen.  The first one is fast and straightforward, requires very little prep and just a bit of attention.  The second one requires a bit of prep and very little attention.  The backyard BBQ comes to the rescue of baked potato lovers!

Potato #1- Easy Peasy Lemon Squeezy!!
The BBQ'd Baked Potato

This potato may look familiar as it was featured on the plate with my Yogurt Marinated Chicken last week.

Ingredients and Supplies:
One 8-9 ounce Idaho Baking Potato per person
Olive Oil
Coarse Salt
Fork
Tongs
Timer

Directions:
Preheat your BBQ to medium
Scrub potatoes clean and let dry completely
With a fork, poke potato about 4 times each on all sides
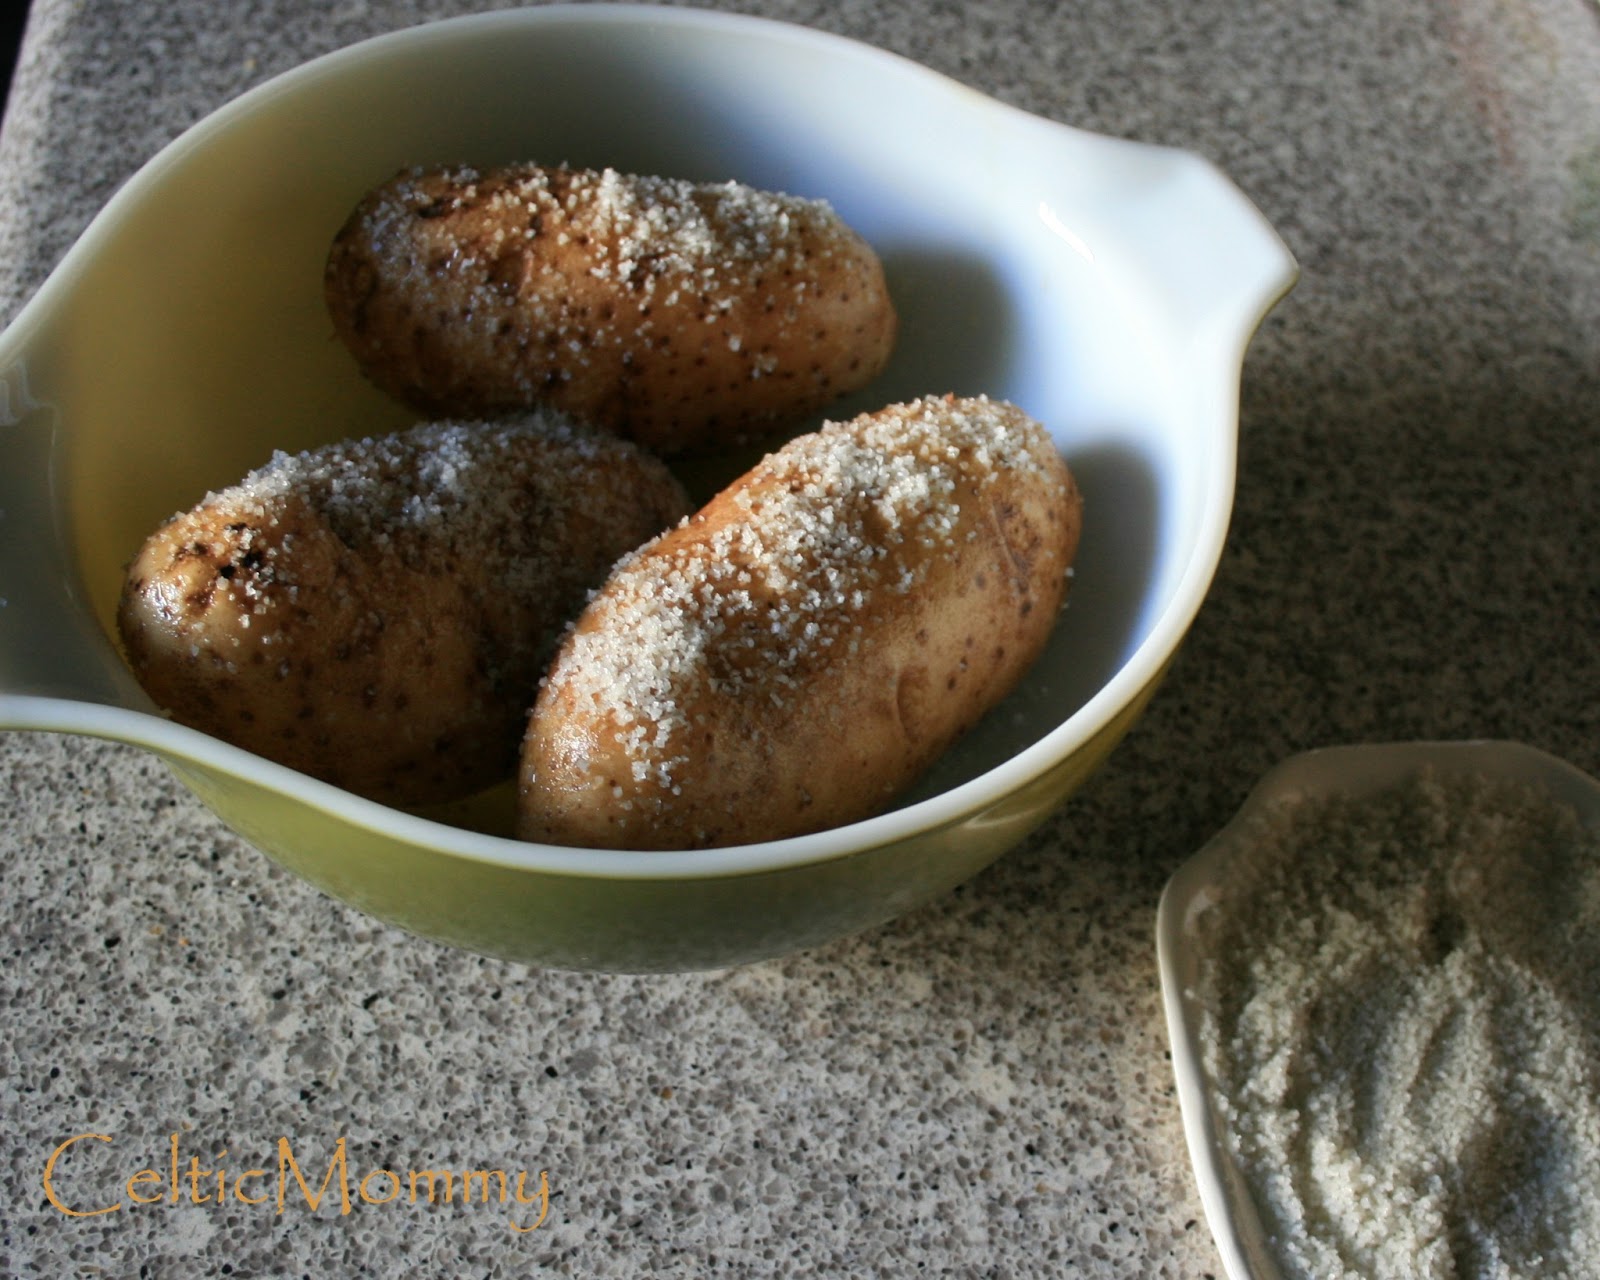
Coat potato in olive oil and sprinkle with salt on all sides
Place potatoes on BBQ, close lid, set timer for 25 minutes
At 25 minute mark, turn potatoes over.  Set timer for 20 more minutes.  (Right about now is when you probably would start making anything else you plan to eat.)
When the second timer goes off, remove potato and gently check for doneness.  Larger potatoes may need a few more minutes.
You will notice in the above photo that the outside is nearly black and crispy, that's fine.  The flavor and texture will be similar to potato skins at your local restaurant.
Add tasty toppings and serve!  The potato will be fluffy light and heavenly.  Enjoy!

Tomorrow, is BBQ'd potato #2 - A BBQ'd Hasselback with slivers of Old Amsterdam Gouda!

Wednesday, February 10, 2010

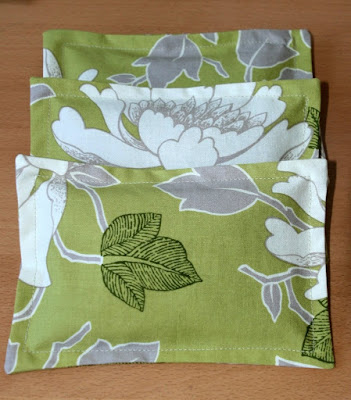
Lavender mini pillows

I am not much of a scented items person... overly perfumey things (people, candles, room fresheners) tend to make me sneeze and hunt for, what I call, fresher, unscented air. As a result, I am prone to opening my home windows rather than grabbing a bottle of "smells like flowers" spray.

Some of you may remember a blog I wrote about my love of bringing in fresh gardenias from my garden... since the gardenias are not currently in bloom, I wanted to find another light scent I could have in the house. Enter the lavender pillows. Knowing what I wanted to make, I delved into my fabric stash and found some pretty lightweight fabric pieces leftover from another project. To make one pillow sachet, you will need two pieces of fabric that are 5 1/2 by 7 1/2 inch rectangles. If you plan to make a bunch, set up an assembly line to iron, sew, fill and top stitch all the sachets.
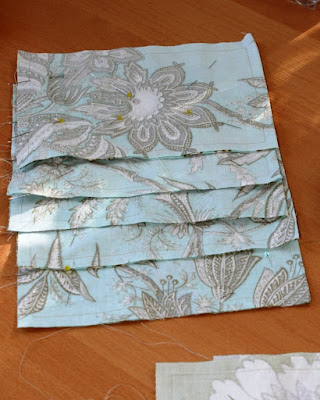
I sewed each one with a tiny 3/8" single seam leaving a 1 1/2" gap on one of the short ends to turn and fill the pillows with. (See pins on left of photo for turning gap.)
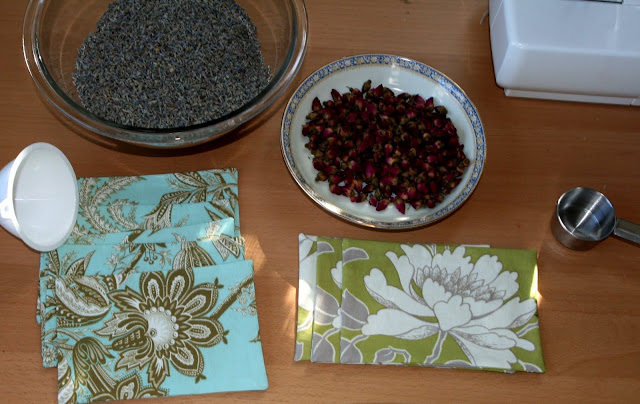
With a chopstick (a sewing tool fave of mine), I got the corners nice and pointy and grabbed a few quick items to help me fill the pillows. I found the lavender buds at my local health food store (organic and non-organic buds are also available online) and bought about 5 ounces to make 6 pillows. I also purchased some dried organic rosebuds to put in another set as a gift.
For the lavender, I was able to use a kitchen funnel. I spooned the rosebuds in with a tablespoon being careful not to crush them. Each pillow has about 2/3 - 3/4 of a cup inside.
Once filled, I closed each pillow with a blind stitch (tutorial) and got them ready for the last step.
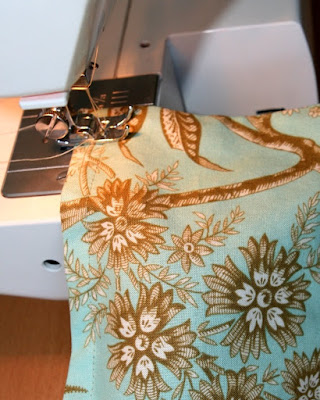
I top stitched 1/2" all the way around, maneuvering the lavender so it would not get in the way... for mostly flat little pillows, this was actually the hardest step! You could hand sew a top stitch or leave them as-is, but I liked the look, so I went with it.These pillows are in my bathroom, bedroom and living room and will give off just enough scent to last with me through the winter of closed doors and windows.
Lightly jostling them brings the scent right back, but you can also microwave them for about 10-15 seconds to revive them if you wish.
If decide to you make yourself a set and would prefer another scent, there are many other choices besides lavender and rosebuds... lemon peel, cedar, sage and myrrh to name a few. Please let me know if you have any other suggestions and I'll add them to the list.
Happy Crafting!