Monday, July 15, 2013
Tutorial: Sew your own dish drying mat
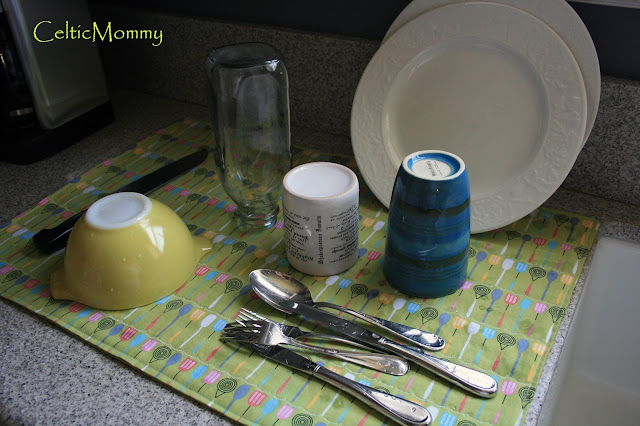
Since I already had my giant cutting mat out this weekend, I decided to make a new dish drying mat for my kitchen. I stopped using a plastic drying rack last year and made myself a drying mat using a cotton kitchen towel and some cute cotton kitchen fabric I bought last year from Superbuzzy. Getting rid of my drying rack has freed up the counter space as I can fold my drying mat and pop it in a drawer whenever I need room. Having one drying mat was fine, but I wanted to make another one so that I could rotate them for cleaning. The dish drying mat can be made by a beginner in a quick afternoon if you have your fabric washed and ready to go. I used my trusty Kenmore sewing machine, so fancy equipment is not necessary either.
What you'll need: (Makes two 17" x 25" dish drying mats)
1 1/4 yards cotton fabric, washed and ironed
2 all cotton dish towels in coordinating color, seams ripped out, washed and ironed
thread
seam ripper, straight edge, pins
rotary cutter and self healing cutting mat (If you do not have these items, just pin and cut your fabric together with sharp scissors instead.)
Step by step:
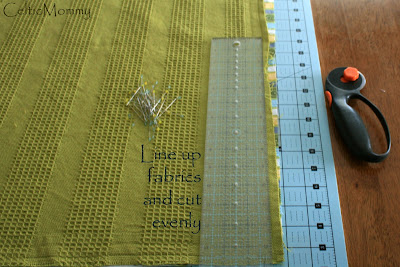
Lay cotton fabric face up on cutting mat. Put dish towel face down (if two sided) on top.
With straight edge, trim fabrics. My cotton dish towels were roughly 18x26" after ripping out the seams but before trimming as you see above and below.
Pin fabrics together leaving an opening about the width of your hand on one of the short sides. You'll be able to turn the fabrics right side out with ease when sewn together. I put two straight pins below the fabric line as an indicator of where to stop sewing. (Click on photo below to enlarge if necessary.)
Sew around with a 1/4" seam, back-stitching at the beginning and end. Clip corner edges so that the corners will be nice and pointy. Remove all pins and turn fabric right side out. Using your fingers, a chopstick or a closed pen, press out corners. Iron drying mat, taking care that the opening section has the fabric closed nicely.
Top stitch very closely all around the drying mat, closing the opening and making a nice edge. If you have a decorative stitch on your sewing machine, change your settings to use that for the next step.
Working with your fabric design, top-stitch several rows. If you are a quilter, you can have fun with this. I just made rows in between my fabric's design. The top-stitching adds stability for when the mat is in use and especially when washed.
Repeat process for a second mat and you're all set to recycle your old drying rack! Though thick, these could still be used as a dish towel as well.
If you make your own dish drying mat, please let me know! Leave a link to your photos or blog in the comments so I can see your handiwork.
Happy Making!!
Hettie


