These are a fun and fast project, taking about 30 minutes to complete.
 Step One: Do a Google Image Search on: Candy Corn ...You'll see a drawing that you can print and use as your pattern in the first two rows. You can enlarge as you prefer... my finished candy corns are about 8-9 inches high by 4-5 inches wide.
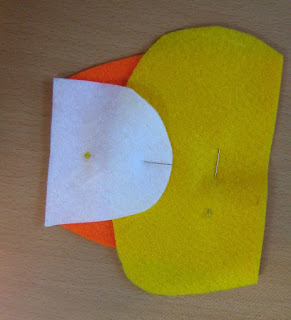
Step Two. Cut the front pieces out of white, orange and yellow felt. Pin and sew as shown.
 Step Three. Iron flat.
 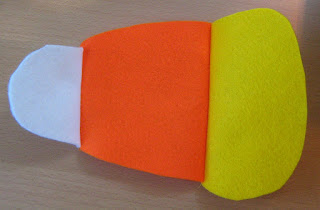 Step Four. Take the candy corn front piece and trace the shape onto an orange piece of felt for the backing. As seen in this step, to make the pieces overlap for candy to be put inside, I traced the white/orange at the top of the felt and then traced the orange/yellow at the bottom of the felt. When I cut them out, they will overlap. (Two front pieces shown in example)
 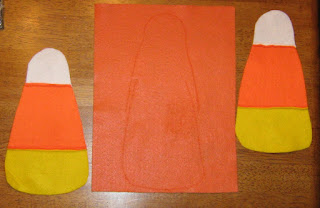 Step Five. Cut pieces and pin together. See how they overlap similar to the back of a pillowcase? That is how you'll get the candy inside when completed.
 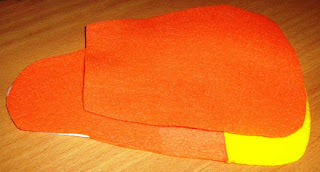 Step Six. Sew all the way around either on the inside or the outside as you prefer. See final photo at top of tutorial for examples of both ways.
Step Seven. Using a Sharpie marker or craft paint, draw silly faces on the front.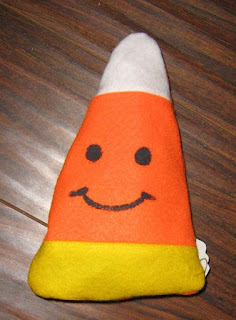
Stuff with candy and give as gifts.
Stuff with candy and give as gifts.
H A P P Y H A L L O W E E N E V E R Y B O D Y ! ! !