Friday, July 16, 2010

Lemon Jells

I was finalizing a care package for a friend of mine and wanted to add some lemon flavored candies in the package.  These tasty jells were just the ticket, though I won't be making these again in the middle of a heat wave!  With a sweet inside and an optional puckery outside... you could probably also make them with limes or grapefruits if you chose.

Lemon Jells (makes 64-81 jells)

You will need:
A candy thermometer 
A heavy, non-reactive, 2 quart saucepan
8 or 9 inch square baking pan

Ingredients:

  • 4 envelopes unflavored gelatin

  • 2 cups of granulated sugar

  • 1 cup of superfine sugar (for coating)

  • Up to 1 tablespoon citric acid (optional for puckery coating)

  • 1 cup cold water

  • 3/4 cup fresh squeezed lemon juice

  • 1 teaspoon fresh grated lemon rind (or 1/4 tsp. Penzey's powdered lemon peel)

  • Optional 1-2 drops yellow food coloring
Directions:

  1. Spray baking pan with non-stick cooking spray.  Set aside.

  2. Put 1/2 cup of the cold water into a bowl.  Add gelatin to soften.  Do not stir.  Set aside.

  3. In saucepan, add remaining water and 2 cups granulated sugar.  Set on medium-high heat to dissolve sugar, stirring often.  When it comes to a boil, set candy thermometer on side of pan.  Do not stir!

  4. Let sugar mixture cook until it reaches the hard ball, 260 degree setting on the thermometer.  Remove from heat.

  5. Add gelatin.  Mixture will foam up.  Stir until combined (about 30 seconds).  Add in food coloring if using and lemon juice and rind.  Stir until combined.

  6. Pour mixture into square baking pan.

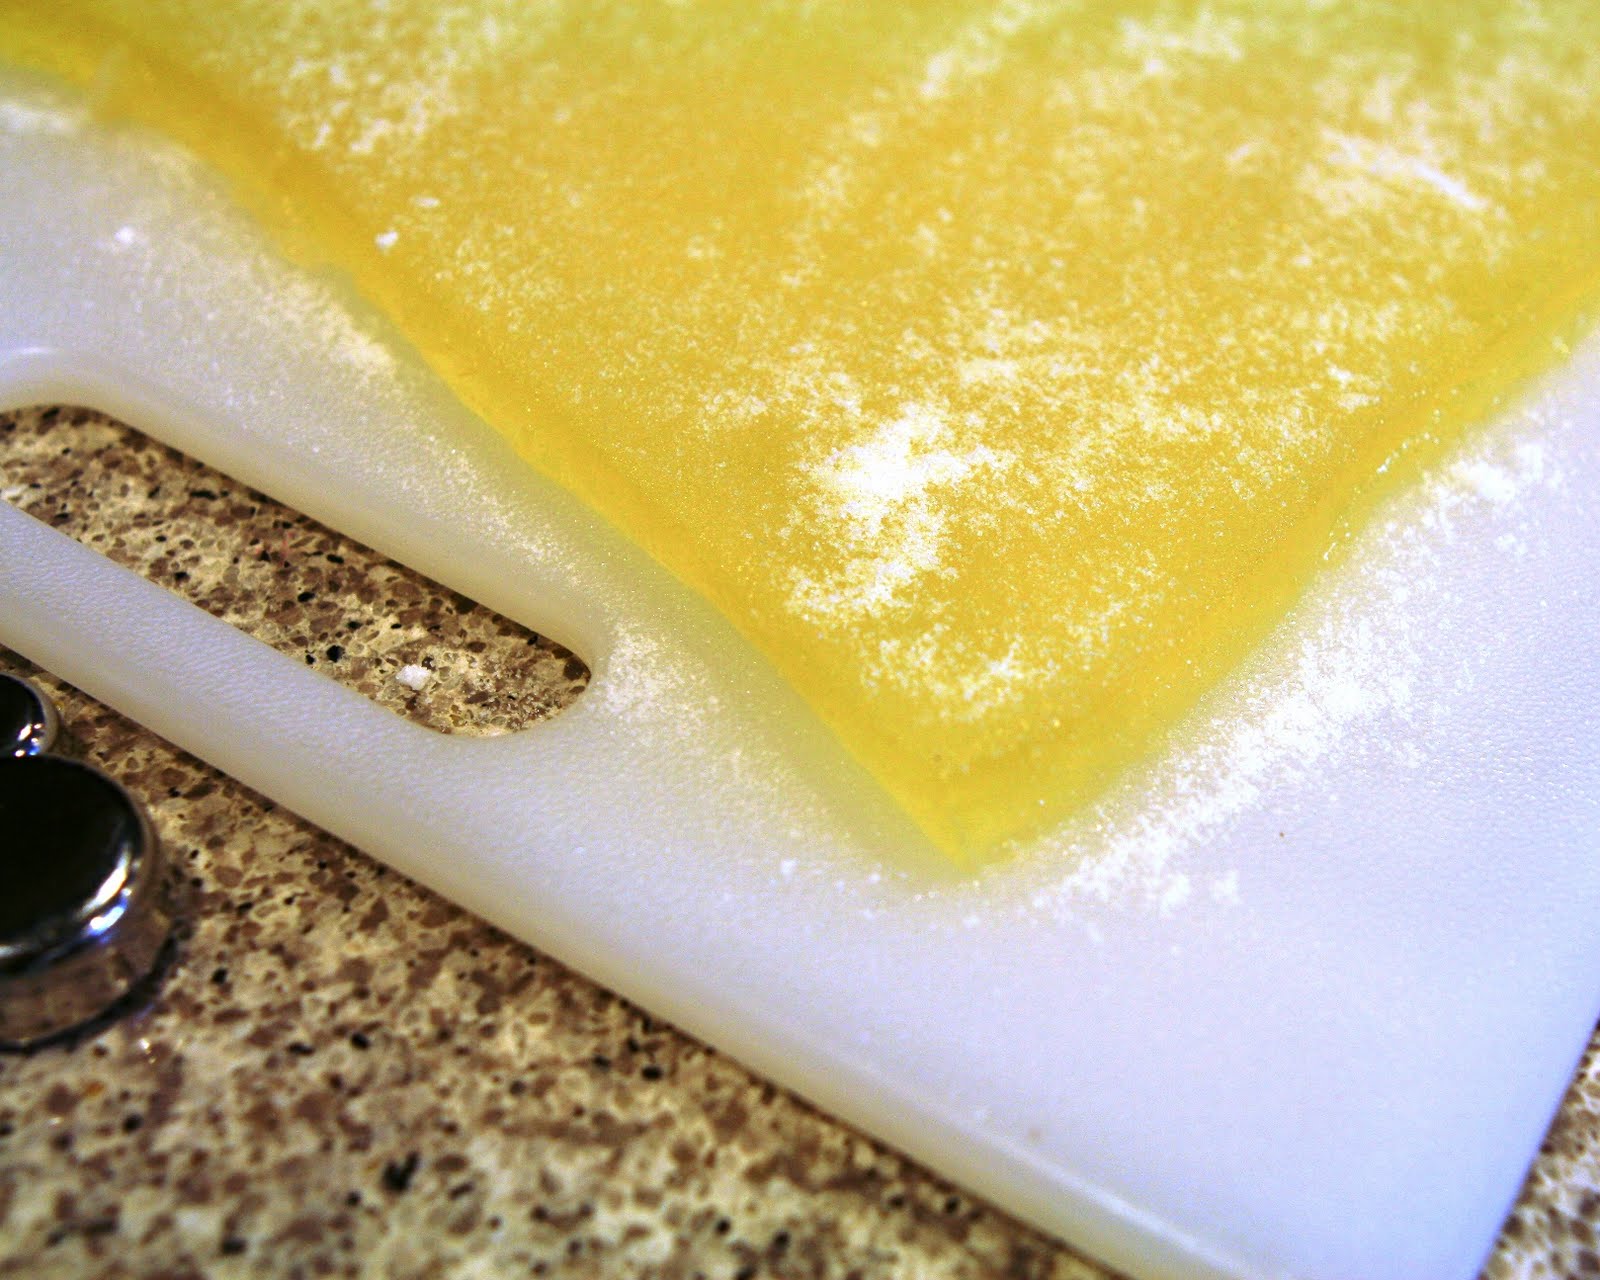
  7. Leave pan on the counter for 3-4 hours until the jell is set.  Do not refrigerate.

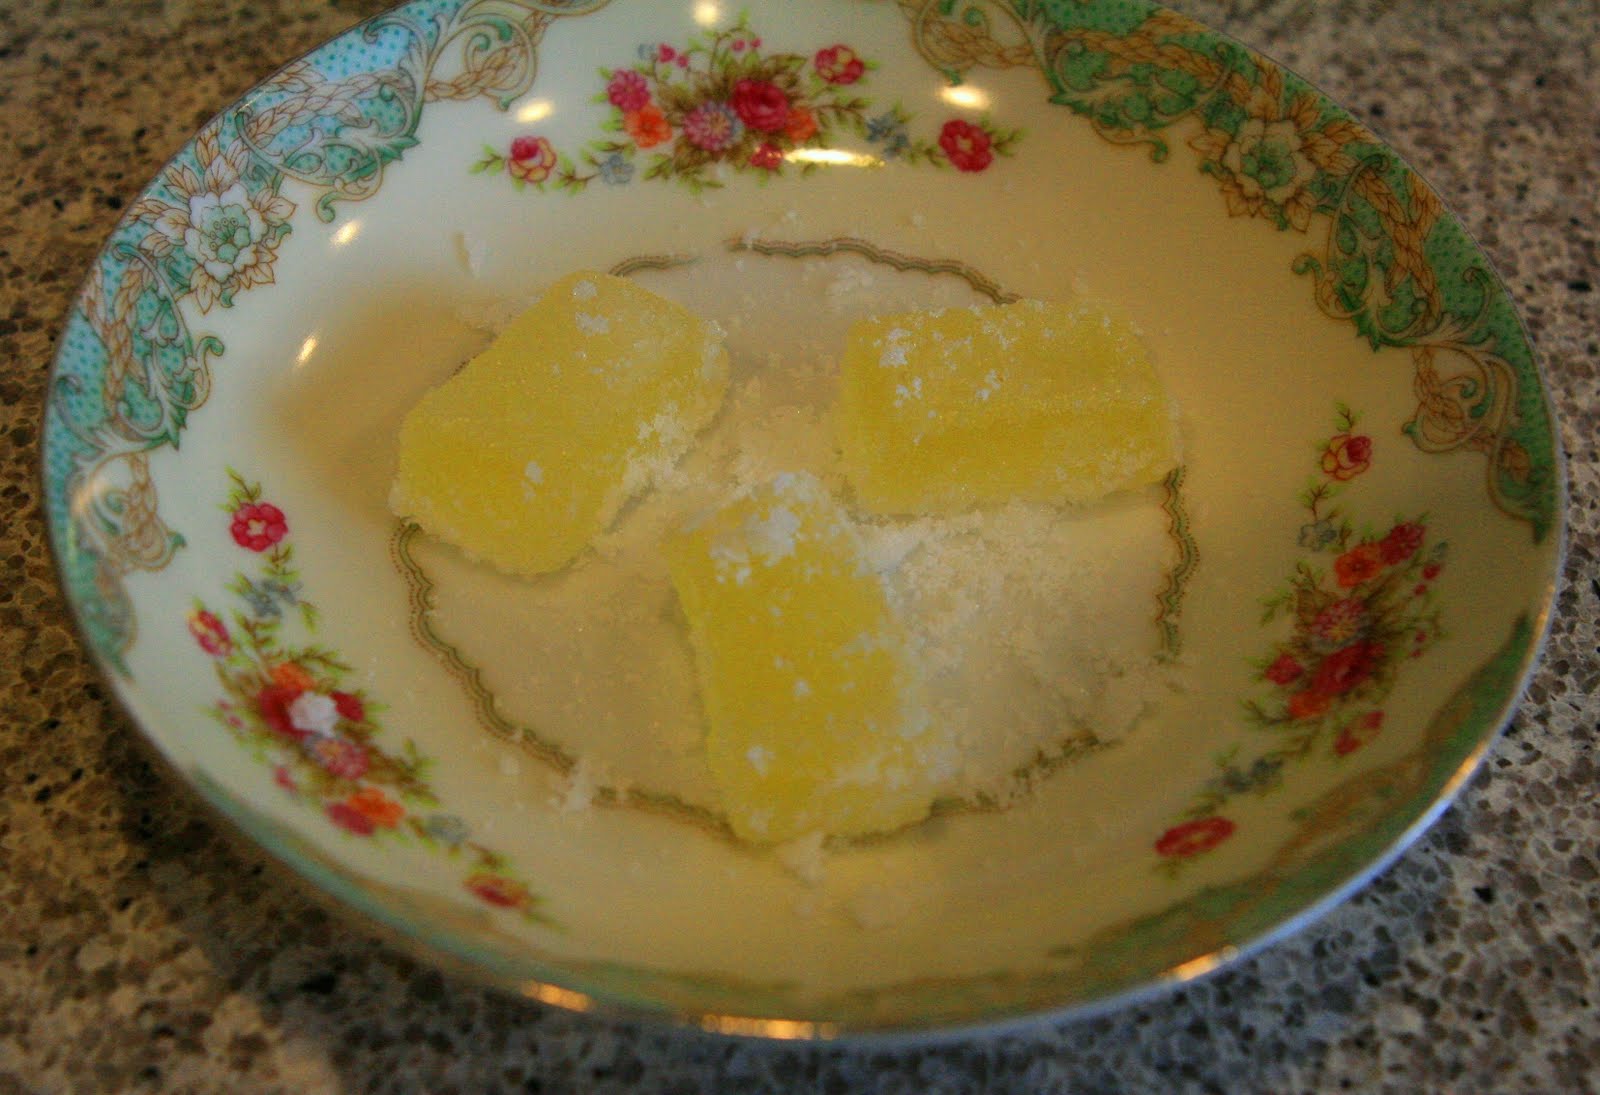
  8. Combine superfine sugar and citric acid if using in a small cereal bowl.  Lightly sprinkle jell square so it is easier to handle.  Gently flip pan and remove jell with a flexible spatula.  It should plop right onto your cutting board. 

  9. Cut jells into 8 or 9 1 inch columns (depending on your pan) and cut those into 8 or 9 pieces each.


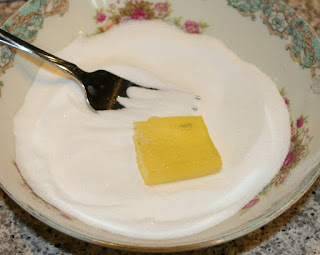
  10. Now comes the messy and fun part.  Coat each jell with the sugar/citric acid mixture.  Your hands will get sticky. 

  11. Place pieces in a container with a bit of sugar in the bottom.  If stacking, add wax paper in between each layer and add a bit more sugar to the bottom of the new layer.  If your area is hot or humid, the sugar/citric acid will soak into the jells and might need to be reapplied if you prefer.

Enjoy!  Oh, and here is a reaction from Em... despite the massive puckery faces he made, he kept coming back for more!  Have a great weekend everyone!

Tuesday, July 6, 2010

La Brea Tar Pits Exploration!

Em and Ro at the top of the hill at the Page Museum - La Brea Tar Pits

The joy of the summer school break is the ability to take the boys on day excursions in the middle of the week.  Another great joy for families on a budget are free days at said day excursions!  Free first Tuesdays at the Page Museum - La Brea Tar Pits are awesome and are not just about the museum!  About 2/3 of our visit was spent outdoors rolling down the hills (the museum is kinda pyramid shaped with grassy angled sides) and taking in the views of the city.  A picnic lunch, a resting moment in the shade of the trees and that's your day. 

Of course, going inside the museum to learn about one of the world's largest active fossil research sites is fun too.  Skeletons of long extinct dinosaurs, sloths, saber-tooth tigers... and wee things too such as shells, plants, bugs can be viewed.  One of our favorite stops is always "the fish bowl" where you can watch scientists at work.  The meticulous patience of these men and women is very fun to watch! 
Ro and Em wandering down the hill to sit under the shady trees for a bit.

Of course, all days must come to an end and we decided to leave before the insanity of L.A. traffic truly hit.  We'll be going back again soon... at least once more before school starts.

Saturday, July 3, 2010

Homemade pickles

With our garden producing pickling cucumbers at a rate of 2-3 per day, I had to come up with a way to keep them!  This fast recipe does not require any special canning supplies and will make one full pint (or two half pints as seen above) of pickles that will keep in the refrigerator for about a month.

Ingredients and Supplies
  • 1 clean pint, or 2 clean half pint Ball or Kerr jars... or a very very clean glass salsa or spaghetti sauce jar will work.
  • Fresh pickling cucumbers, washed, about 5 or 6
  • 1 cup of granulated sugar
  • 1 medium onion, chopped
  • 4 cloves garlic, smashed
  • 1 teaspoon dried dill or several sprigs of fresh dill
  • 2 teaspoons kosher salt
  • 2 teaspoons pickling spice  (I use Penzey's)
  • 1 1/4 cups white vinegar
Directions
  1. Slice cucumbers about 1/4" thick, set aside
  2. Combine sugar, onion, garlic, dill, salt, picking spice and vinegar.  Make sure sugar is dissolved.
  3. Put cucumbers in jar (jars) packing lightly
  4. Fill jar with vinegar mixture to top.  If you are splitting into two half pint jars, you might need about 2-4 tablespoons of water
  5. Cap tightly and place in refrigerator

The pickles will be ready pretty quickly... about 2-3 days.  I have already gone through one jar and put new cucumber slices in the vinegar mix.  The pickles are sweetly tangy and still give some crunch.  Yum!

Enjoy!

Friday, July 2, 2010

On the hook


Just a quick update on a beautiful scarf/cowl giftie I have been working on.  The pattern is called Seduction from Chicken Betty (a.k.a. Sara @WEBS Yarnstore) and is easy to memorize.  Well... it was easy once I had the 10 minutes it took to concentrate on memorizing the pattern (as in, being a mommy means 10 minutes uninterrupted = a miracle), the project has been able to move along swiftly!

This yarn is so scrumptious!  I am using Manos del Uruguay Silk Blend in white that I bought from the one and only decent yarn shop within 15 miles of my house!  I haven't decided on the trim color yet, so you'll have to be surprised by that when I show off the final product.

Edited to add:  DONE!!

Happy Crocheting everyone!

Thursday, July 1, 2010

California Science Center Fun

Up up up the escalator with NaNa!

The boys and I went with NaNa to the California Science Center yesterday... the first of many trips this summer to be sure!  One of my favorite things about the science center are many the hands-on exhibits that are perfectly suited for kids and their curious nature!  Starting when I was a child and now in adulthood, I have found that learning by doing and experiencing rather than watching and listening works very well for me.  This type of approach seems to work for Em and Ro as well.

Ro checking out the structural integrity of his building at the California Science Center.
Apparently, this creation would not withstand an earthquake!

After learning about ways to help the environment, we moved on to the structures section to build archways using keystones and wooden frames.  We checked out soil compositions and how liquefaction can be activated in an earthquake.  We learned about common types of fault lines (remember, this is Southern California) and plate tectonics... all slightly above the head of my 4 year old.  But, the mini shake table was what truly helped Ro grasp all the previous exhibit sections.  I think we stayed at this table for about 45 minutes!  Em and Ro built and rebuilt structures (using the pieces you see above in the photos) to see which construction of the structure would hold out the longest in an earthquake.  Each time the structures fell, the looked at it as an opportunity to try again and figure out what worked the best.

There are many other sections to the California Science Center that we visited, but this section was where we spent the bulk of our time.  And since, the science center is free, we prefer to hunker down in one or two areas rather than try to mad dash our way through everything.  On our next visit in a week or two, we plan to spend the day in the recently opened Ecosystems gallery.